[ad_1]
Screenshot by Steam Game Guides
During your adventures in the Underdark, you’ll eventually come across a massive Duergar forge at its center. This forge is no ordinary forge and can craft some spectacular gear using the many moulds that can be found in the area surrounding it. However, due to the limited supply of ore necessary to make this gear, you’ll need to be selective about which specific pieces you decide to make using the forge. Wondering which mould you should use at Grymforge? Wonder no longer, reader.
What gear should you make at the Adamantine Forge in BG3?
In my playthrough, I took the time to make all of the available moulds to see if each would result in a different type of item. Using the Adamantine Forge to craft any of the available weapons will result in a blue rarity variety of each respective weapon, that has the magical ability to Silence any target hit by it. These weapons are fairly powerful, especially with the Silence component attached, but they are hardly worth your Mithral ore, which you only get two to use on the forge.
Related: BG3 Arcane Tower Guide: Get Past Arcane Turrets, Repair Elevator, & more
Armor is surprisingly a bit different though. If you use the medium armor mould, you’ll get a solid medium armor chest piece that is likely to be an upgrade for one of your party members. However, the real prize, and the odd man out when it comes to forging, is heavy armor. The Splint mould, when used to craft at the forge, rewards you with Very Rare Adamantine Splint Mail, and it exceeds the stats of every other piece of gear you can make:
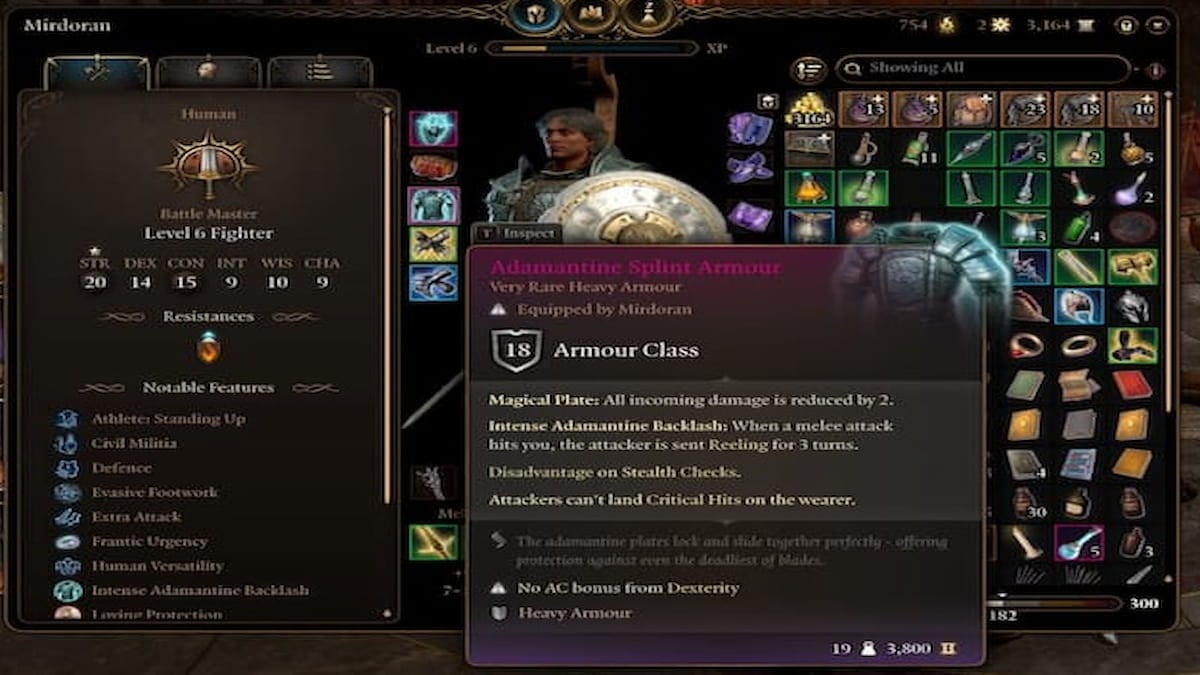
That’s right. For some reason, using the Splint mould gives you the best possible gear you can get from the forge. If you use anything else, you won’t get a Very Rare. It must be the Splint Mould.
So, that’s one mould down; what about the other? Considering that other moulds only reward Rare rarity gear that is only decent, I actually recommend saving the last Mithril ore in your possession and not crafting any other gear. In my playthrough, we haven’t used the second one yet in hopes of discovering new moulds beyond the grasp of the immediate forge. So there you have it. Make the heavy armor, save the other. You’re welcome.
For more quality guides and useful information relating to Baldur’s Gate 3, check out Fighter Build Guide – Best Skills and Subclass (BG3) right here on Steam Game Guides.
[ad_2]