[ad_1]

Screenshot by Professional Recreation Guides
The Genshin Influence Vulture Volans Chapter Act I – The Illusions of the Mob is Alhaitham’s Story Quest, which focuses on investigating forbidden analysis surrounding collective consciousness. Within the second phase known as Delight and Prejudice, it’s essential enter the Secret Cavern in Apam Woods, the place the Hive is hidden deep inside. Comply with alongside to unravel all of the puzzles and acquire all of the Chests within the one-time Area.
How one can unlock Alhaitham’s Story Quest in Genshin Influence
To unlock the Vulture Volans Chapter Act I – The Illusions of the Mob, you have to first full the Archon Quest Chapter III: Act V – Akasha Pulses, the Kalpa Flame Rises. As soon as that is achieved, head to the hunt menu, then click on on Story Quests on the underside left of the display screen. You will need to spend one Story Key to unlock Alhaitham’s Chapter.
All Key puzzle options & Chest places within the Genshin Influence Secret Cavern Area – Alhaitham’s Story Quest
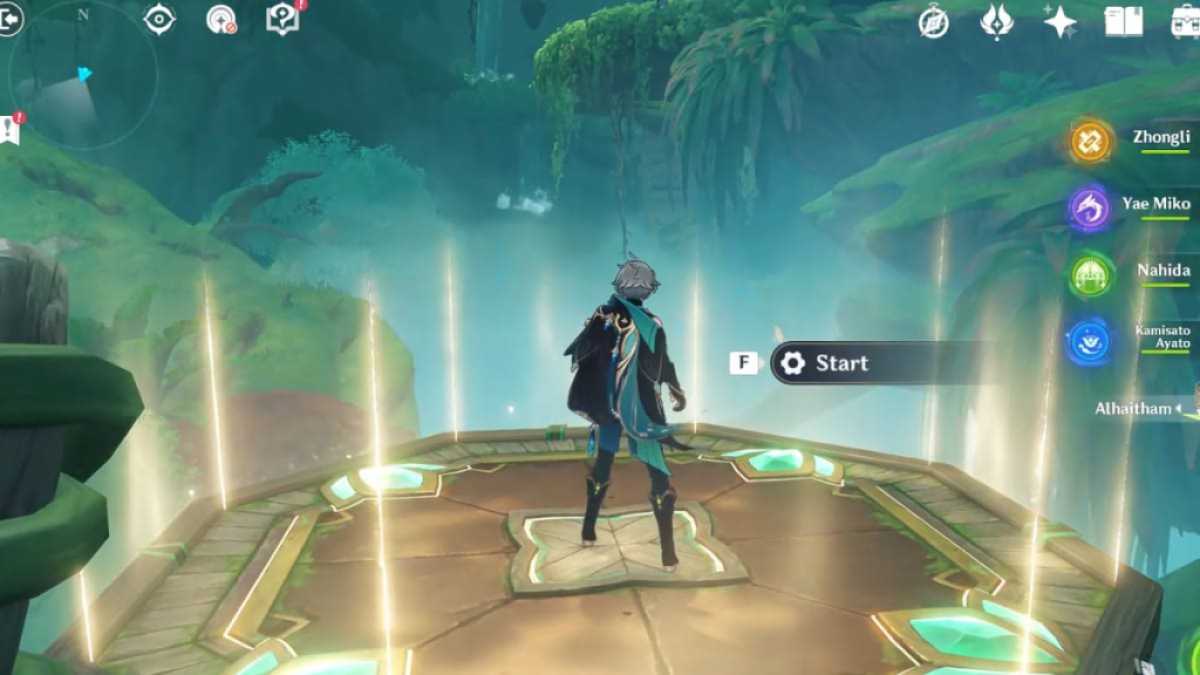
Whereas enjoying via Alhaitham’s Story Quest, you may be prompted to enter the Secret Cavern Area in Apam Woods. Earlier than coming into, please put together a battle-ready staff as you’ll have to defeat some opponents inside. And when you’re inside, plunge downward and comply with the hunt marker to provoke the primary cutscene/dialogue.
Associated: Genshin Influence Alhaitham farming information
Head into the guts of the analysis base
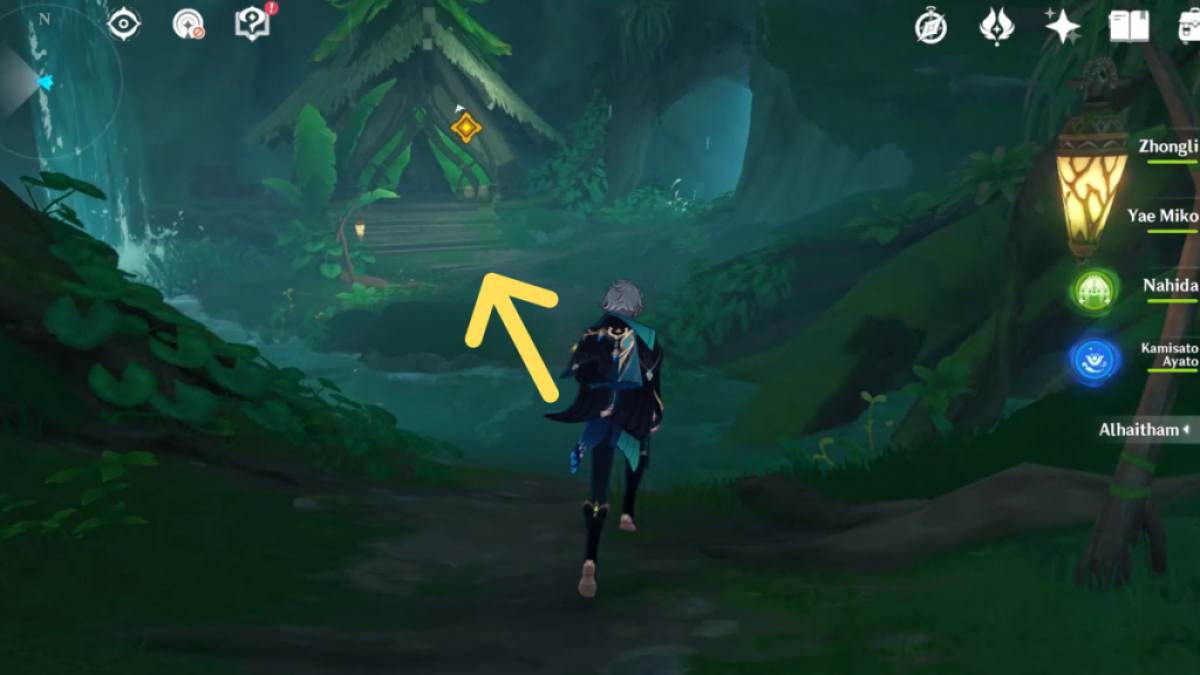
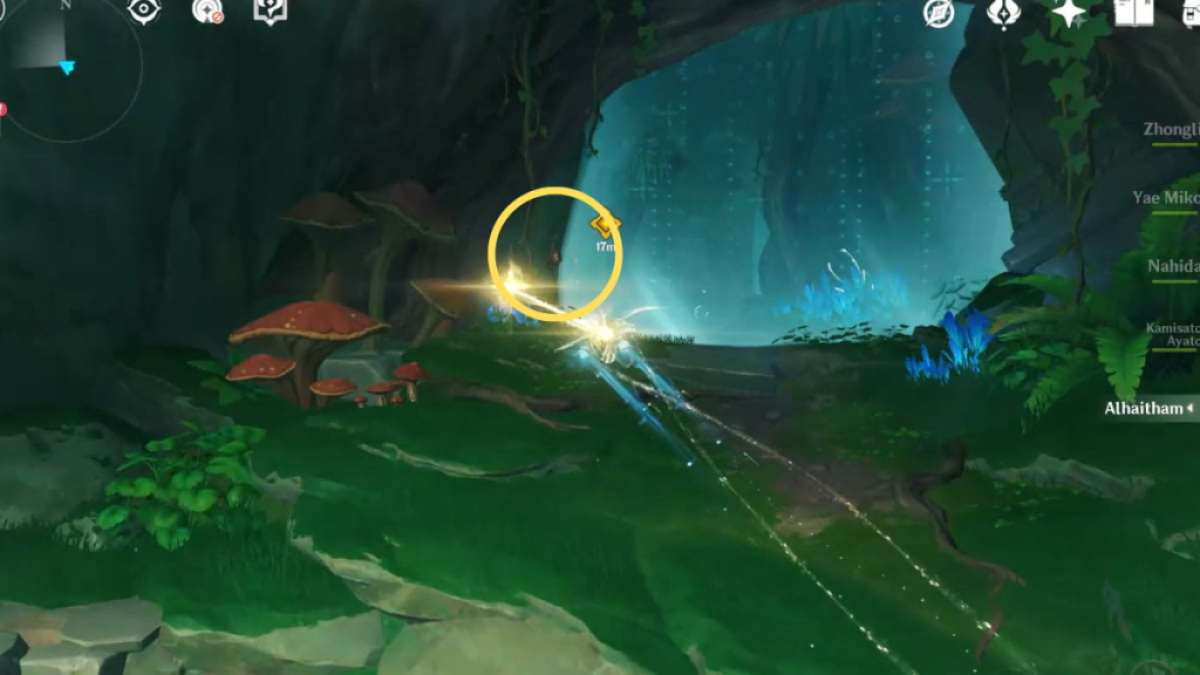
As soon as that is achieved, you may be prompted to go to the guts of the analysis base. Begin by following the hunt marker to the following home up forward. This can set off a fraction of Ilyas’ reminiscence.
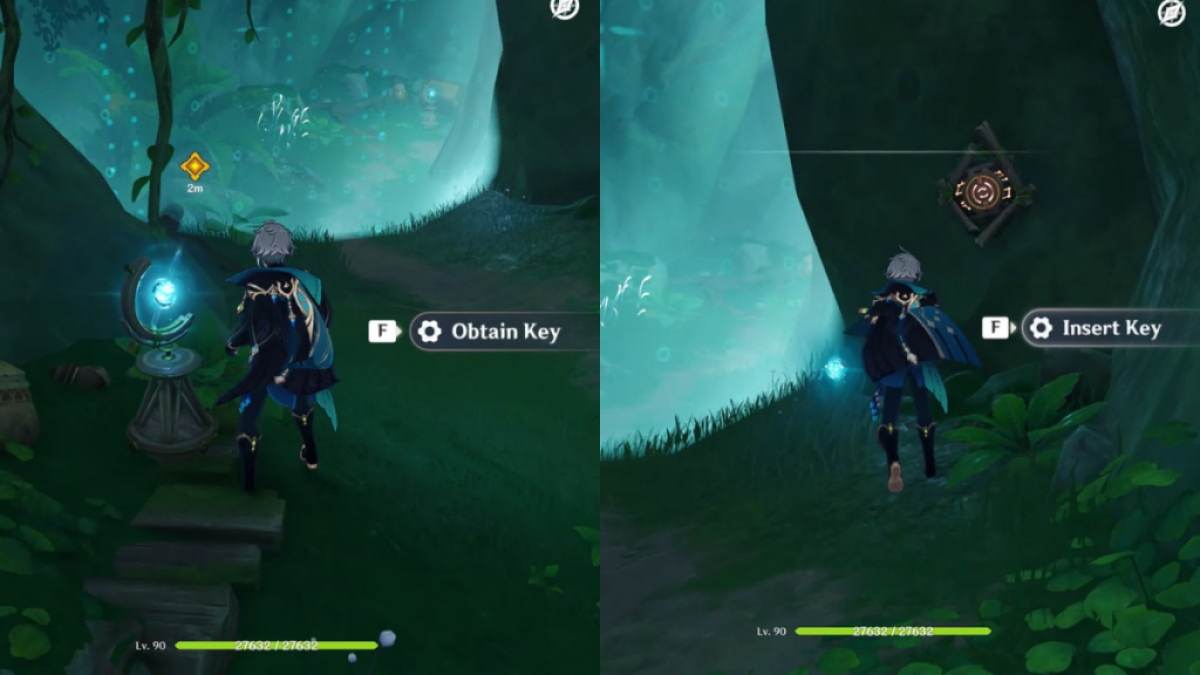
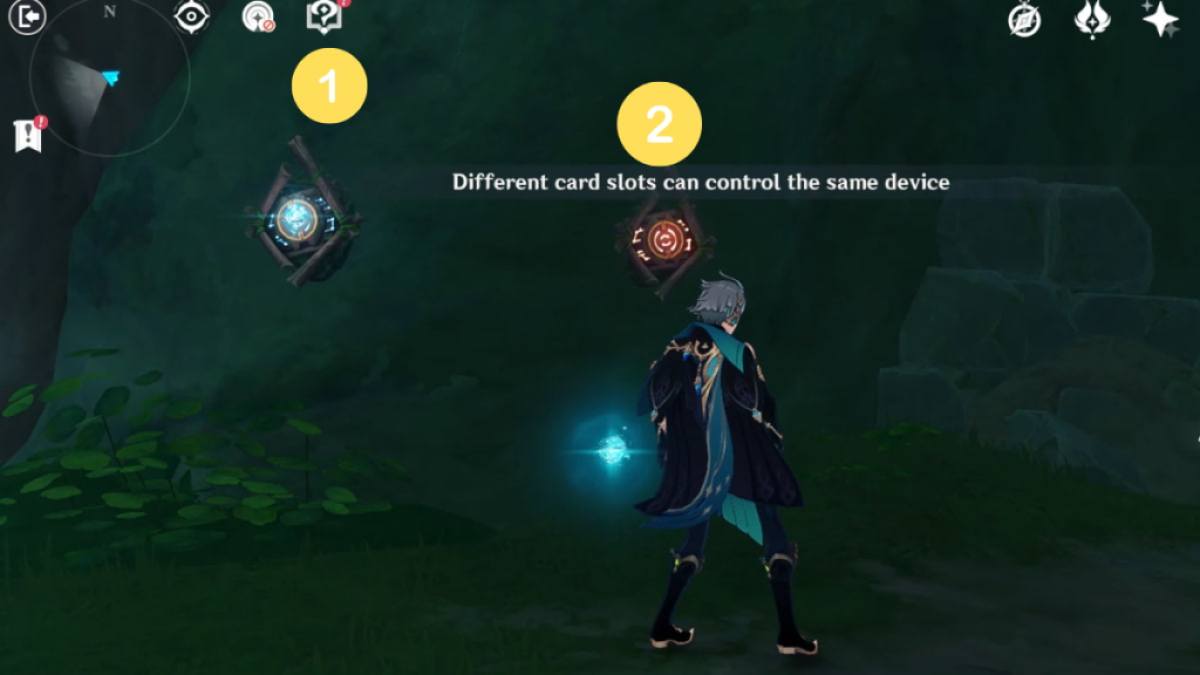
The sport will introduce you to a Key puzzle. You must work together with the glowing blue orb on the monument to acquire the Key, then work together with the pink lock on the wall to insert it. Doing so will immediate the barrier to vanish, permitting you to proceed additional inside.
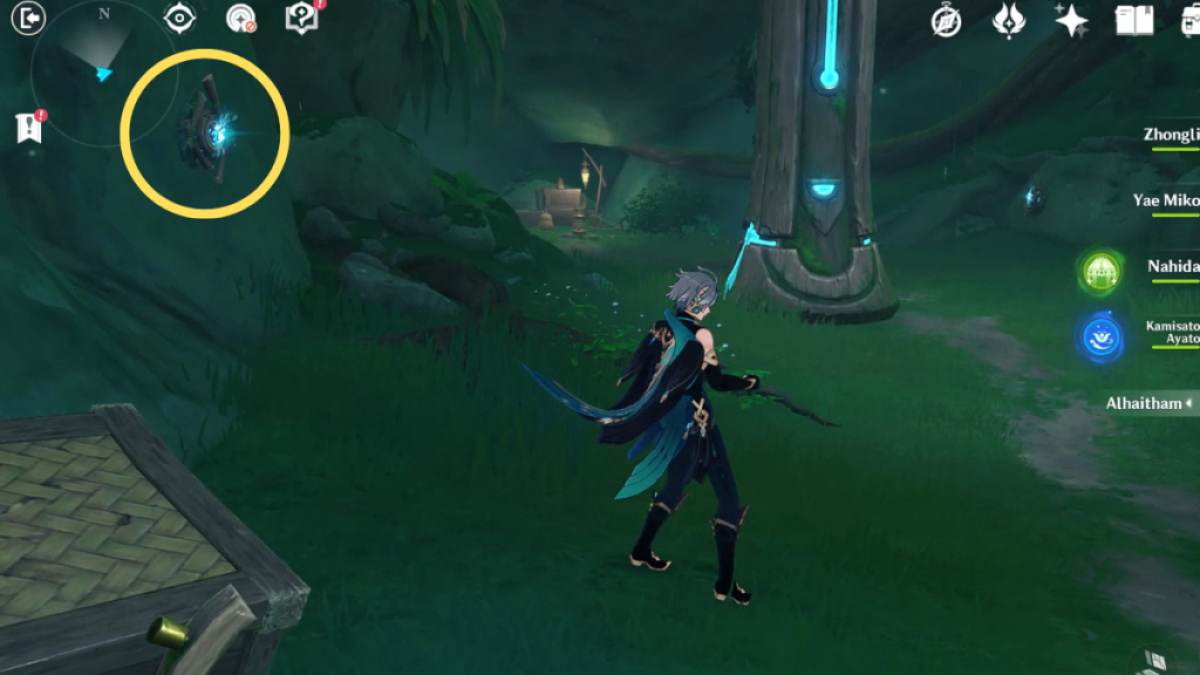
The subsequent half is somewhat difficult, as it’s essential commute between Keys. First, decide up the Key and insert it within the lock on the left to take away the left aspect of the barrier.

Enter from the left, then flip proper to loot a Frequent Chest. You’ll be able to’t retrieve this after exiting the Area, so be sure that to loot it instantly.
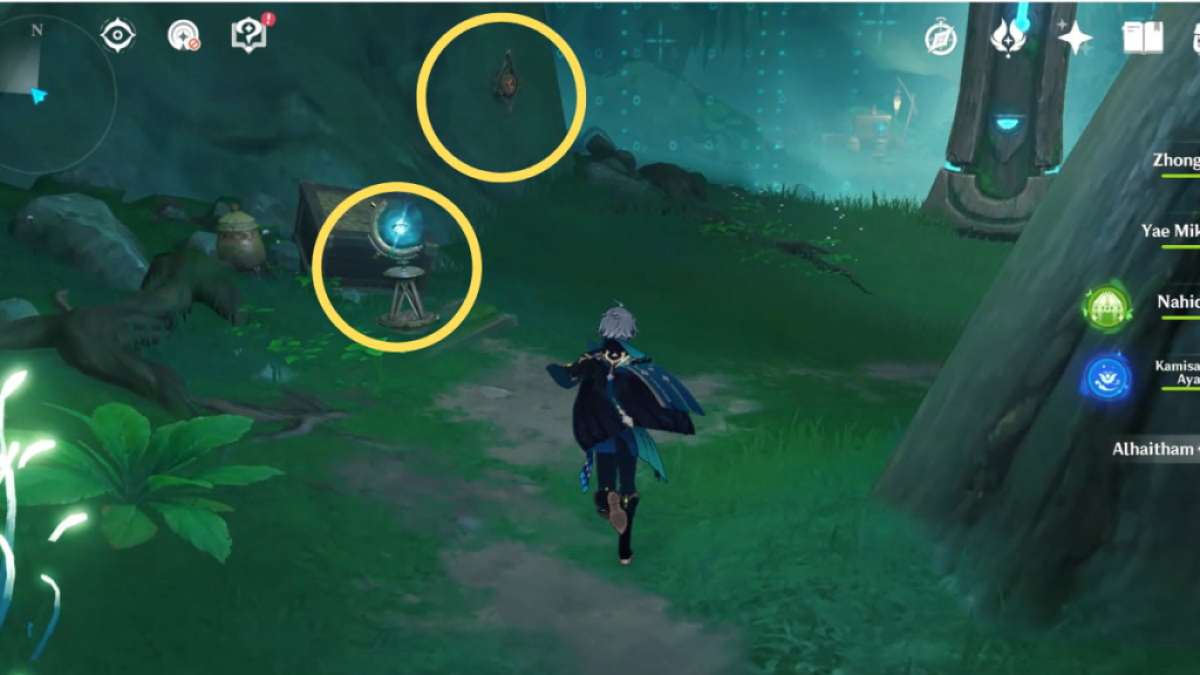
Subsequent, flip left to seek out one other Key. Choose it up however do not place it within the lock beside it. As a substitute, flip proper (towards the placement of the earlier Frequent Chest) and place the Key within the lock beside the half-barrier.
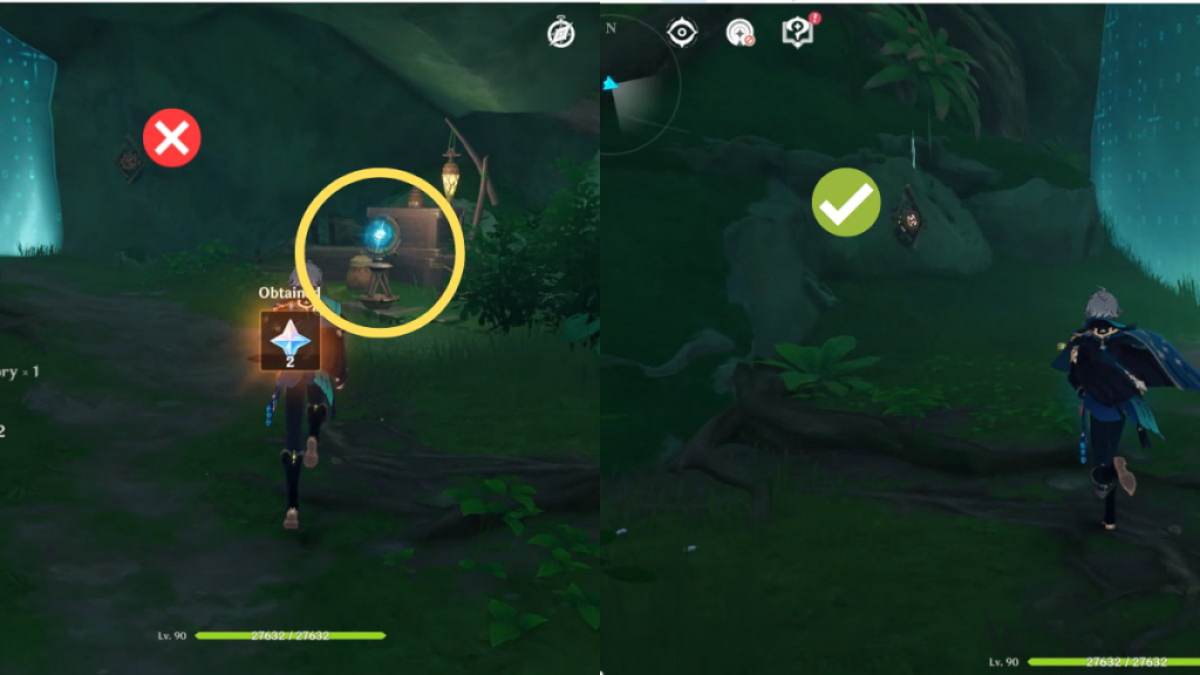
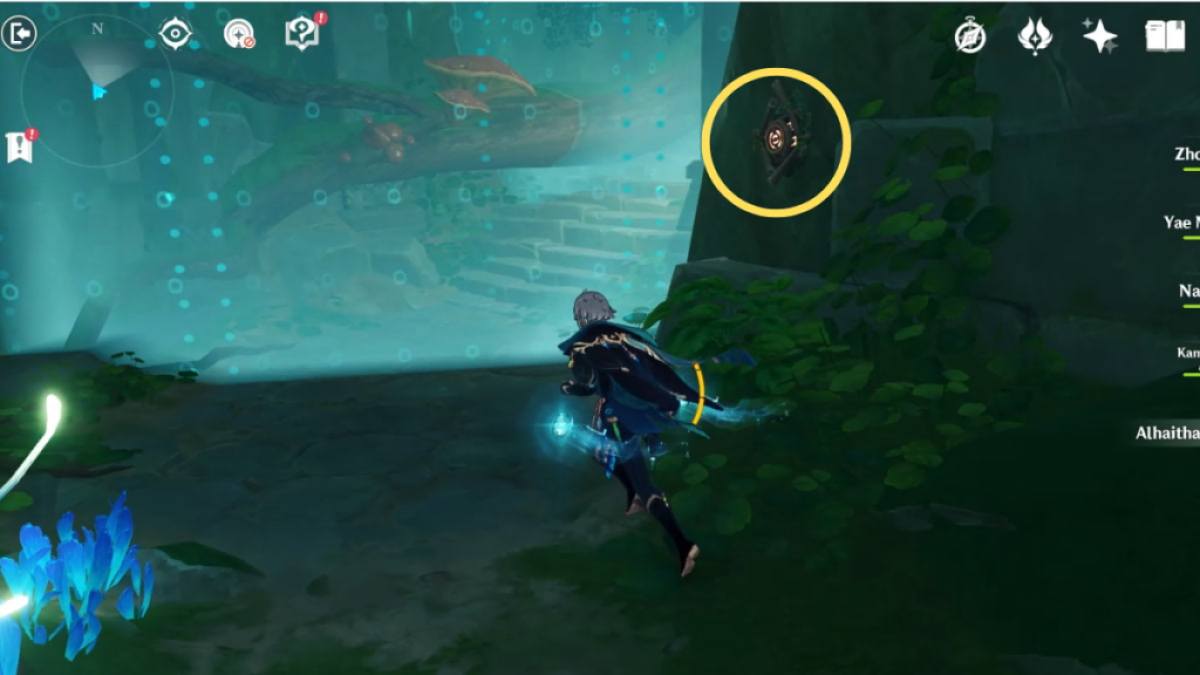
Each side of the barrier ought to now be dispersed. From the skin, your sport ought to seem like the picture above. You must work together with the Key on the lock outdoors (circled above) to take away it. This can power the barrier to kind once more.
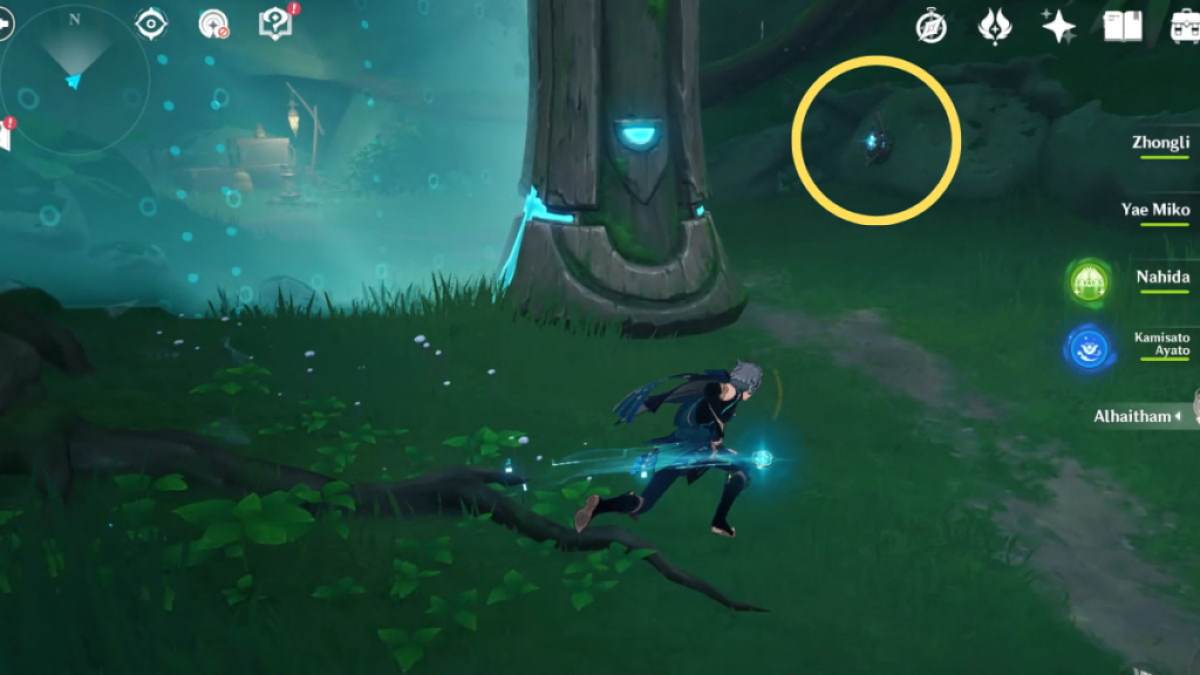
This time, enter from the precise aspect, then take away the Key we beforehand positioned. The barrier will kind once more. You ought to be holding two Keys at this level.
Subsequent, flip left and place the Key on the lock, which can power the barrier to vanish. There shall be one other lock up forward—do the identical and place the second Key to disperse the barrier.
There is a small enemy encampment up forward. Defeat them to unlock the Beautiful Chest. Do not forget to loot it, as you will not give you the chance to take action anymore after exiting the Area. As soon as achieved, comply with the hunt marker and hold going up forward till you discover a vivid space with a platform ready for you.
Work together with the platform to start shifting. It should cease every now and then to immediate some dialogue however merely work together with it once more to proceed shifting. When you attain your vacation spot (with a home in entrance of you), transfer ahead by just a few steps to immediate one other fragment of Ilyas’ reminiscence to play.
Associated: Genshin Influence Ships – Finest Neighborhood Ships

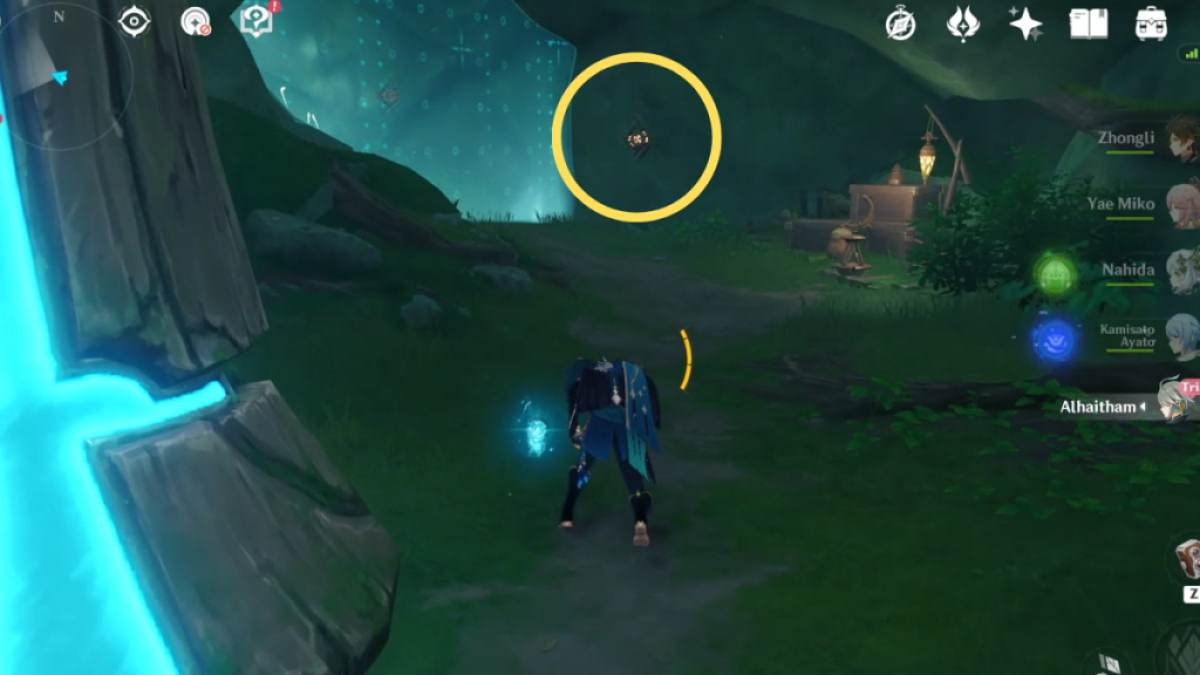
On this phase, it’s essential use 4-Leaf Sigils to navigate. Hook to the primary 4-Leaf Sigil up forward and work together with the monument to get the primary Key. Then hook to the following 4-Leaf Sigil close by to choose up the second Key. You must have two Keys hovering round you at this level.
Hook to the 4-Leaf Sigil by the barrier, the place you may discover the primary lock on the left. Place the Key within the lock to disperse the barrier. You continue to have one Key with you at this level.
Subsequent, you have to comply with these steps within the precise order:
- Place the Key in lock #2.
- Take away the Key from lock #1.
- Take away the Key from lock #2.
By following these steps, the barrier will kind once more, however you can be inside and may proceed onward. You also needs to have two Keys hovering round you once more, as these are wanted to disperse the upcoming boundaries.
Proceed deeper into the cave. Place one Key within the lock to disperse the barrier. Then climb the steps and place the second Key onto the second lock to disperse one other barrier. Hold shifting ahead to set off one other fragment of Ilyas’ reminiscence.
As soon as it is achieved, comply with the hunt marker to the clearing the place Ilyas is ready for you. You will interact in an extended dialogue between him, Alhaitham, and Siraj.
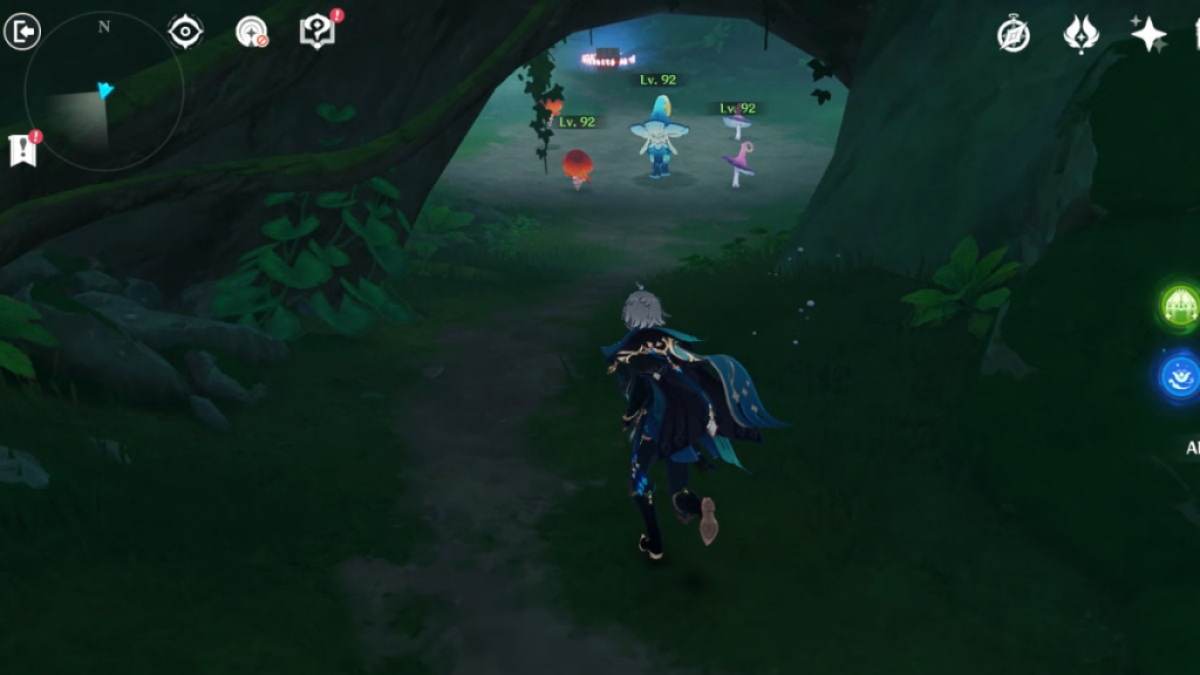
Defeat opponents
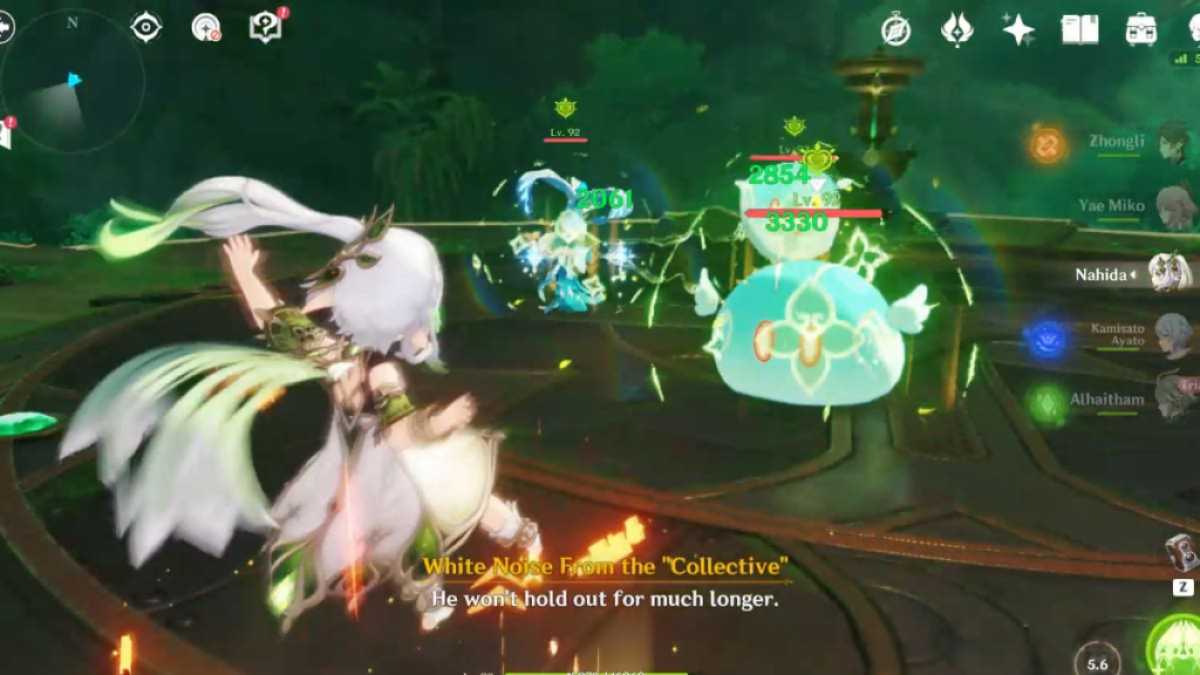
This phase is easy. Siraj will summon just a few waves of enemies—largely Slimes, fungi, and a weaker Jadeplume Terrorshroom. Merely defeat all of them to proceed. Do not forget that you need to use Alhaitham as a trial character. As soon as the battle is over, an extended dialogue and a cinematic cutscene will ensue. Full all of them to likewise full the Area. Do not forget to loot the Treasured Chest earlier than exiting.
You’ll proceed with Alhaitham’s Story Quest. As a bonus, remember to enter the library in his home after the hunt ends to expertise the further dialogue between Alhaitham and Kaveh.
For extra Story Quest Area walkthroughs, try our Genshin Influence Nahida Story Quest Area walkthrough – Sapientia Oromasdis Chapter right here on Professional Recreation Guides.
[ad_2]