[ad_1]
Screenshot by Pro Game Guides
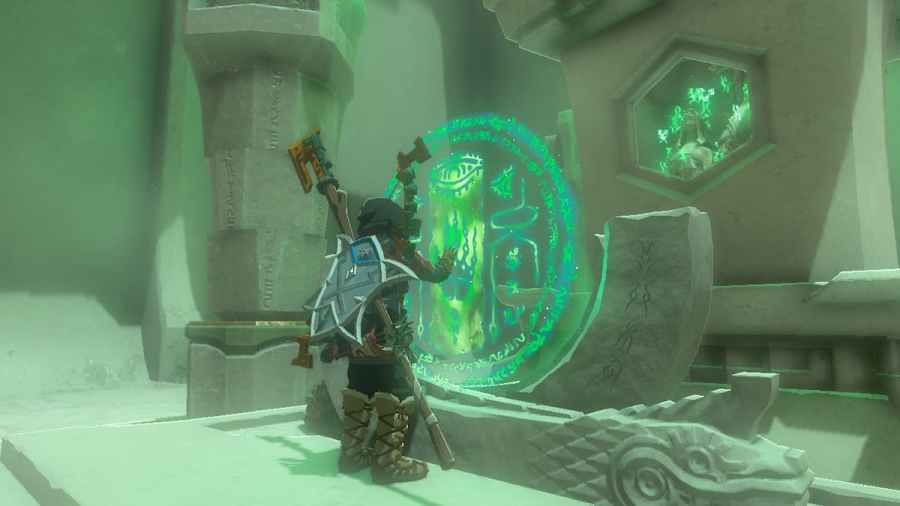
Shrines in The Legend of Zelda: Tears of the Kingdom will stretch your puzzling brain to use all of your new abilities and win Lights of Blessing. To obtain the prize at the end of Turakawak Shrine, you’ll need to use both your Ultrahand and Ascend abilities wisely (not Fuse this time, sorry). Here’s how to do it.
How to get into Turakawak Shrine in Zelda Tears of the Kingdom
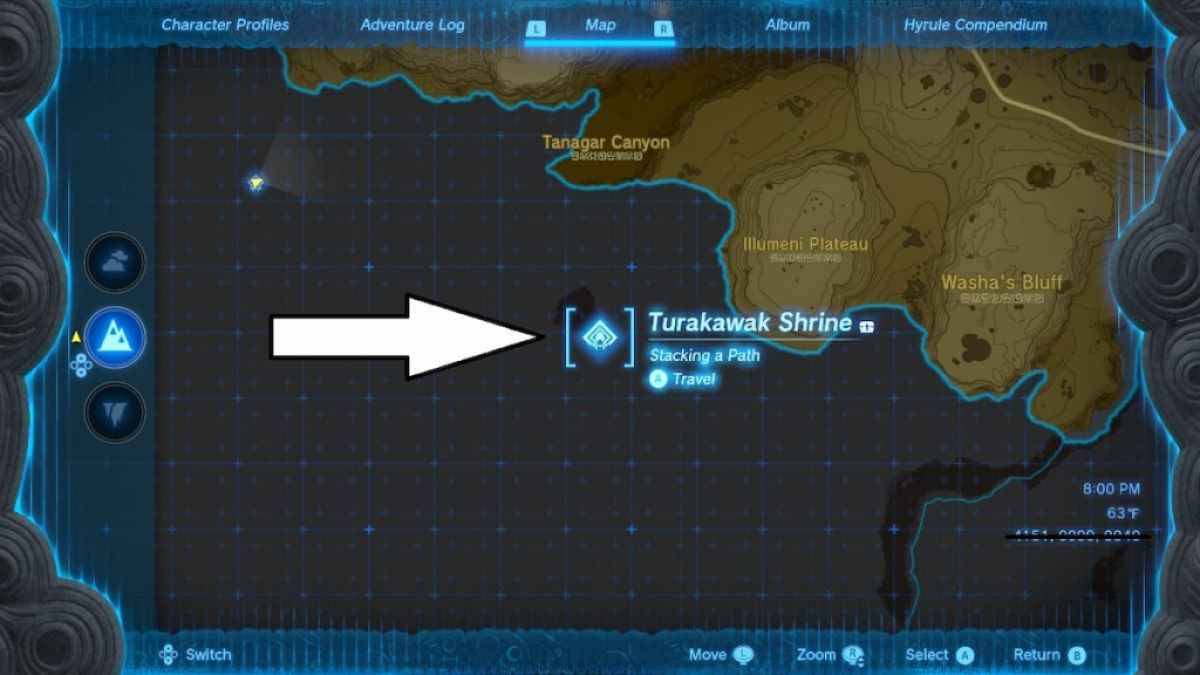
Turakawak Shrine can be found south of Tanagar Canyon. The exact coordinates are -3496, -0197, 0066.
To get into the shrine, you’ll first need to get around the thorns soaked in water. Fire Arrows won’t do you much good here. Instead, I climbed a nearby ledge and paraglided my way over the thorns to the shrine.
How to climb the first ridge in Turakawak Shrine in Zelda Tears of the Kingdom
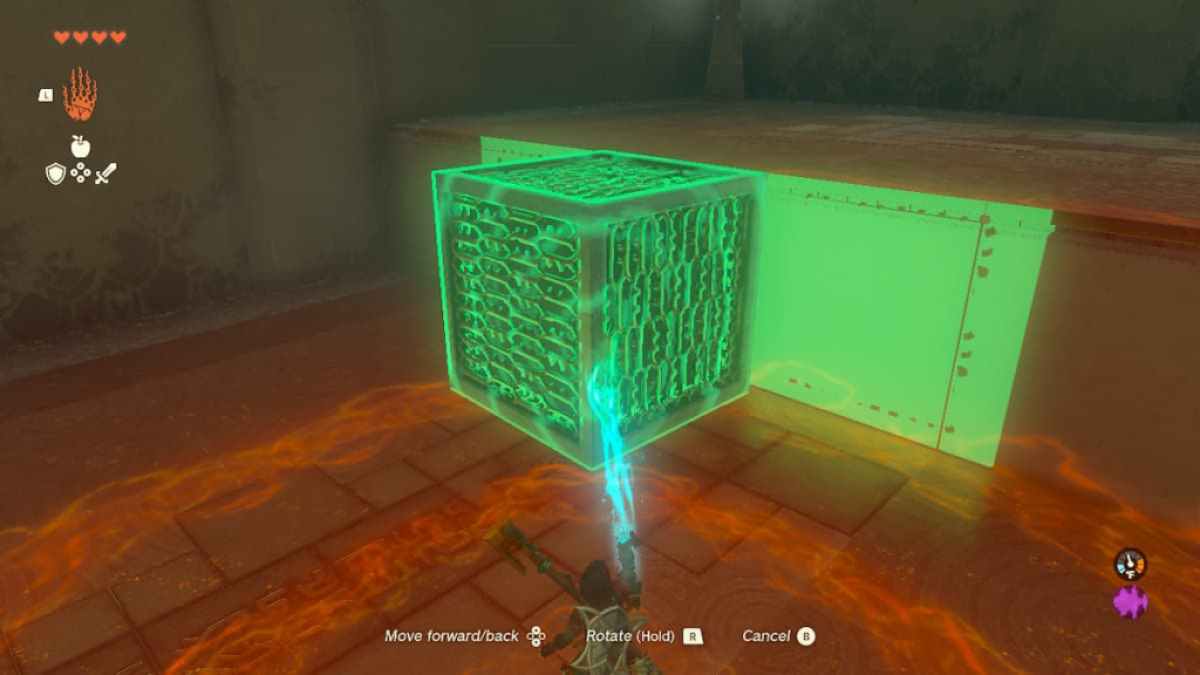
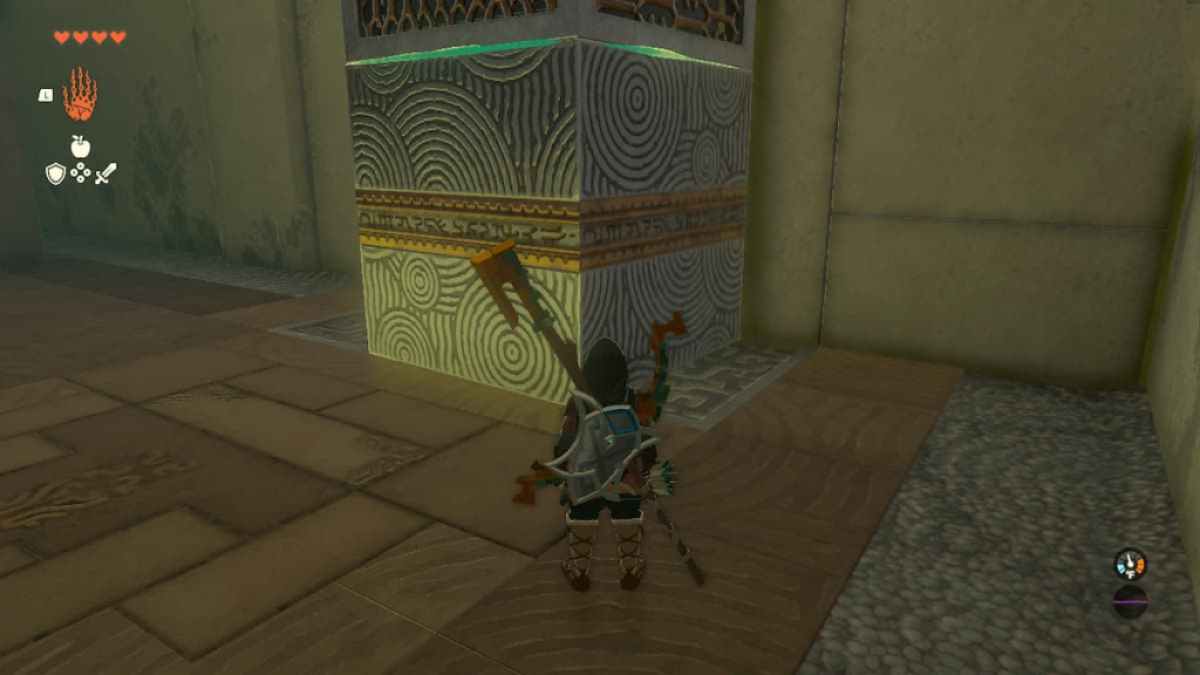
This first step of Turakawak Shrine is a no brainer. Use your Ultrahand to place the climable block up next to the ridge and climb up. Easy peasy.
How to get to the second level of Turakawak Shrine in Zelda Tears of the Kingdom
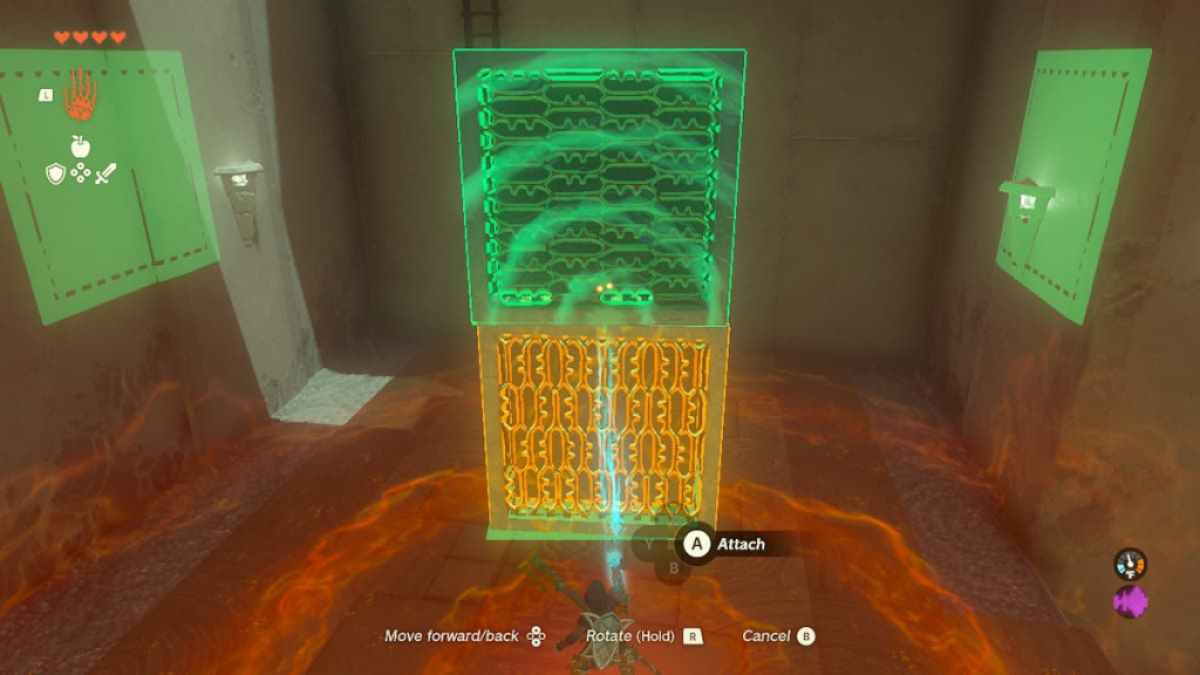
To reach the second level, grab the block that you just climbed with your Ultrahand and attach it to a second climbable block on the ledge. Place the new tower underneath the ladder in the left hand corner and you’ll have created a way up. Hold, up though, before you climb up, there is something else you should do.
Related: How to clear Yansamin Shrine (Proving Grounds: Low Gravity ) in Zelda Tears of the Kingdom (TOTK)
How to get the optional chest in Turakawak Shrine in Zelda Tears of the Kingdom
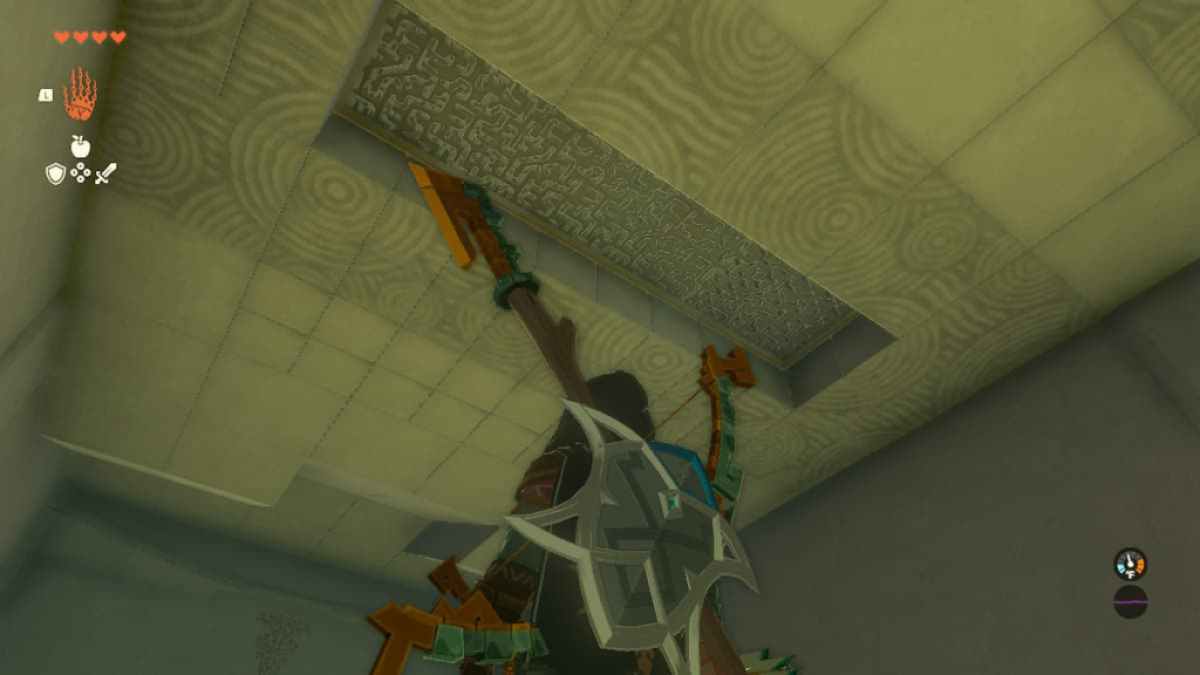
Return to the entrance to find this grating in the ceiling. If you use your Ascend ability, on the center of the grating, you’ll place yourself right in front of an optional chest. It has a Magic Rod inside. Use Ascend again to exit the cage.
How to finish Turakawak Shrine in Zelda Tears of the Kingdom
I still had you place that climbable tower for good reason. Use your Ultrahand to grab the tower, lift it onto the second floor, then stack and attach it on top of the non-climbable block. Move the whole tower on top of this grating in front of the optional chest cage.
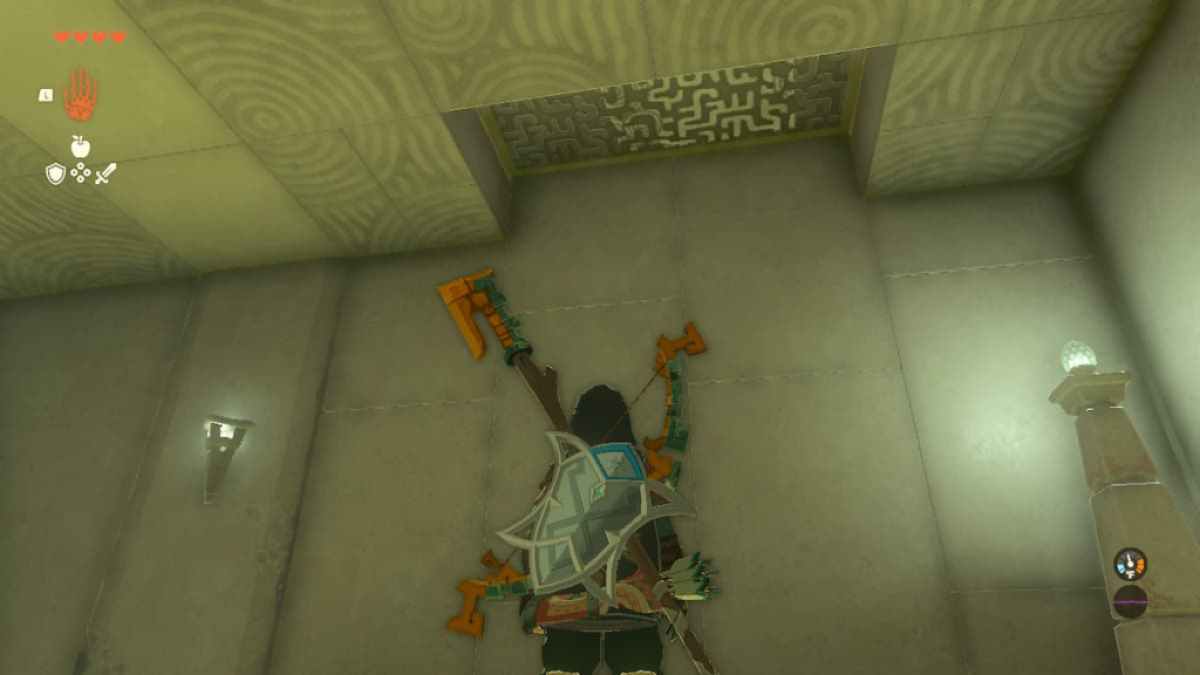
Return to the first floor, then use your Ascend ability on the grating above you again, this time aiming directly in the center of the block tower you just placed on top of the grate. This will lift you to the top of the three block tower, right to where you will collect your Light of Blessing.
Looking for more help with Shrines in The Legend of Zelda: Tears of the Kingdom? Check out How to clear Gasas Shrine (Well-Timed Cuts) in Zelda Tears of the Kingdom (TOTK) here at Pro Game Guides.
[ad_2]