[ad_1]
After completing the initial set of Herodiana’s trials in Hogwarts Legacy, you’ll have access to two additional puzzle rooms that you can challenge yourself with. Making it all the way through Depulso Puzzle Room Two will reward you with a collection chest containing a Conjuration Spell at the end. But be warned, I found this puzzle room is a doozy to solve. Now that I’ve done it, I can help you through it. Here’s how to complete Depulso Puzzle Room Two in Hogwarts Legacy.
Where to find Depulso Puzzle Room 2 in Hogwarts Legacy
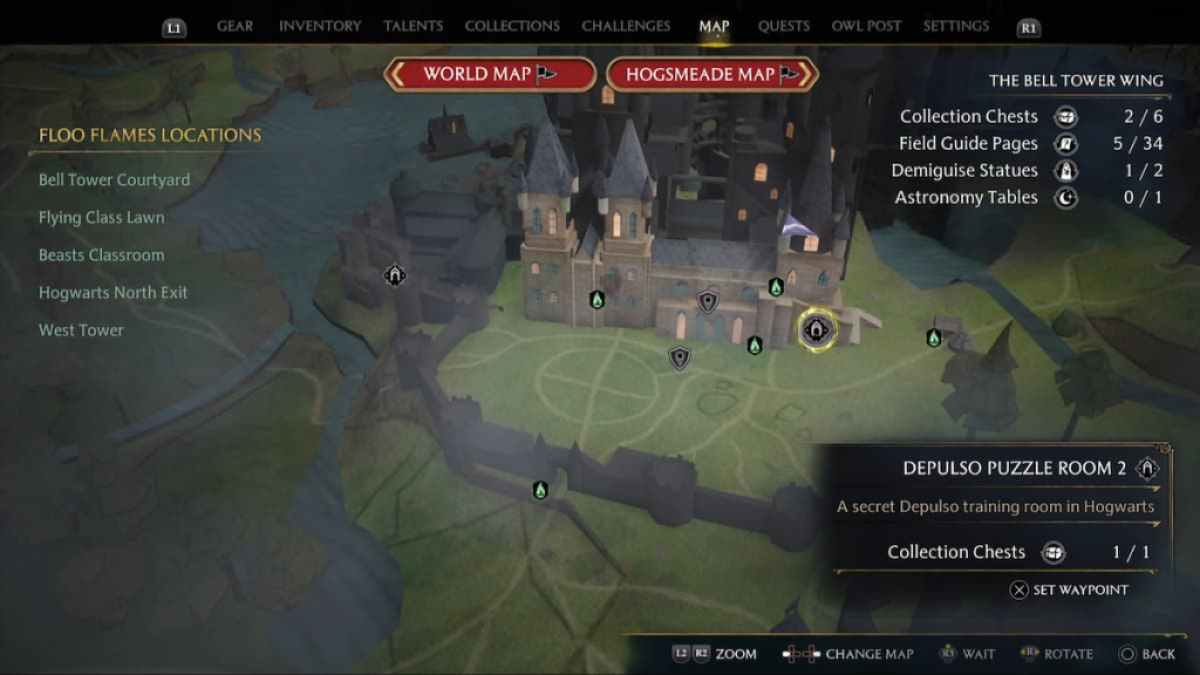
While it may seem like the best way to get to this puzzle room is via the West Tower Floo Flame spot, your best bet is starting at the Transfiguration classroom in the Astronomy Wing section. When you teleport there, turn around and go through the first doors on your left. You’ll immediately see another small door on your left that has a level one lock. Use Alohomora to open it, then proceed down the passageway and turn left into an Egyptian inspired corridor. Depulso Puzzle Room Two will be at the end of this corridor on your right.
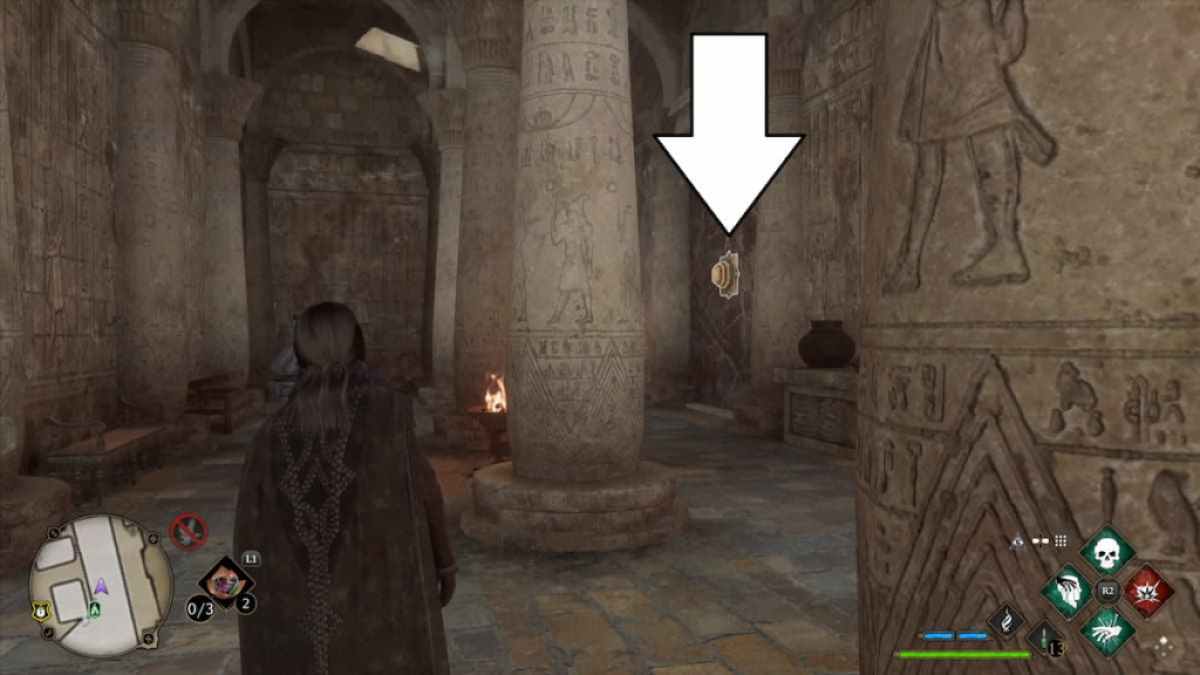
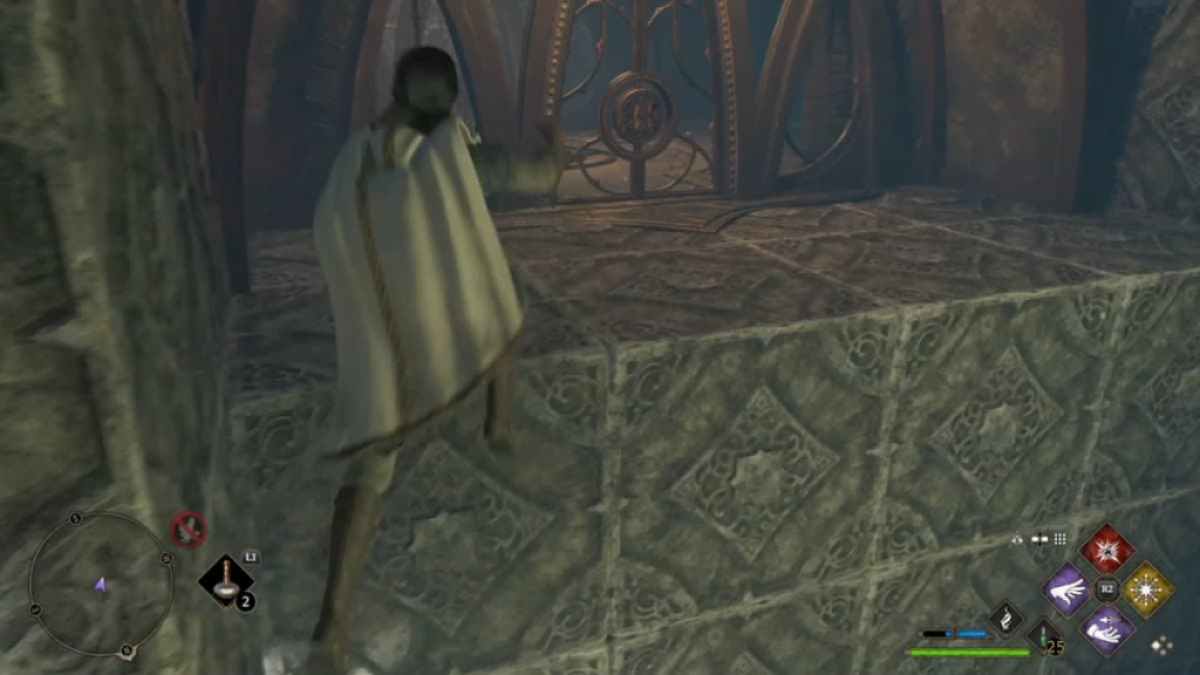
To open Depulso Puzzle Room Two, use Depulso on the golden knob, just like you did to open the Halls of Herodiana. Then, step in and proceed down the hallway to your first puzzle room.
Hogwarts Legacy’s Depulso Puzzle Room 2 solution
There are a couple of important things to know about Depulso Puzzles. First, you will be using both Depulso and Accio frequently, so I recommend setting both together on a spell wheel for convenience. When you use Accio, be careful of where you are standing. Pulling a golden brick on top of yourself will result in your player character being transported to the start, and the puzzle will reset. You can reset puzzle blocks without resetting your position by using a basic strike on the glowing cubes nestled in a golden stand. Keep in mind for this puzzle, if golden cubes are pulled or pushed together, they will become permanently linked, creating a new block entirely.
How to reach the first chest in Hogwarts Legacy’s Depulso Puzzle Room 2
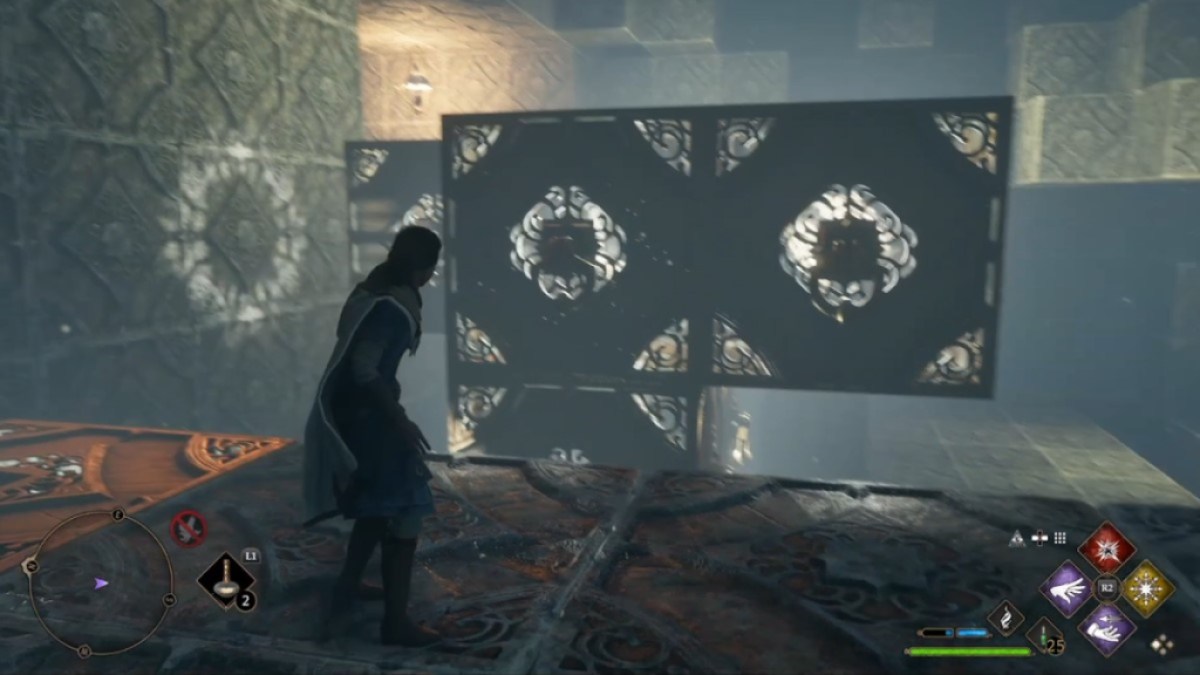
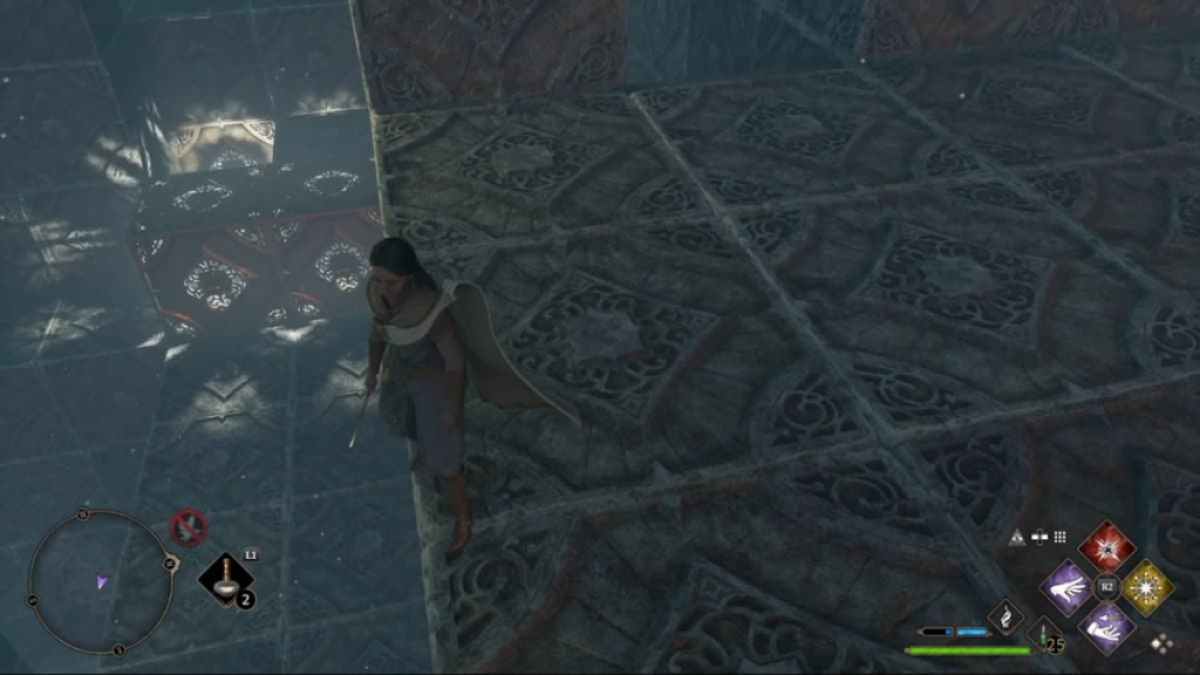
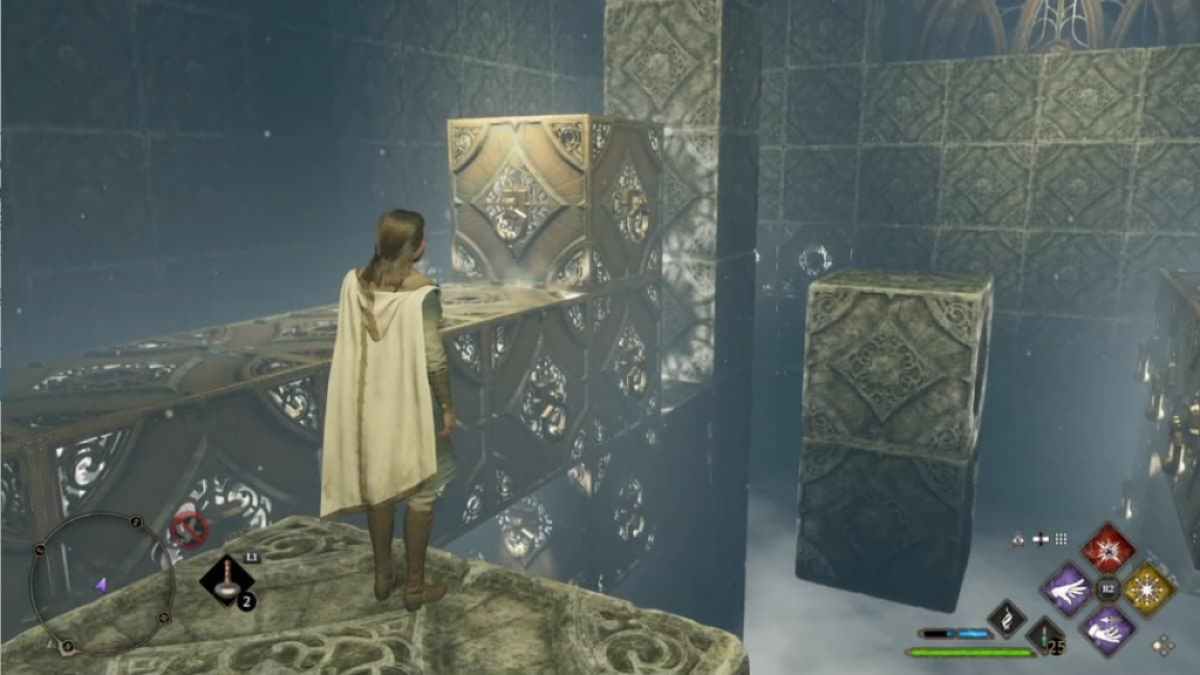
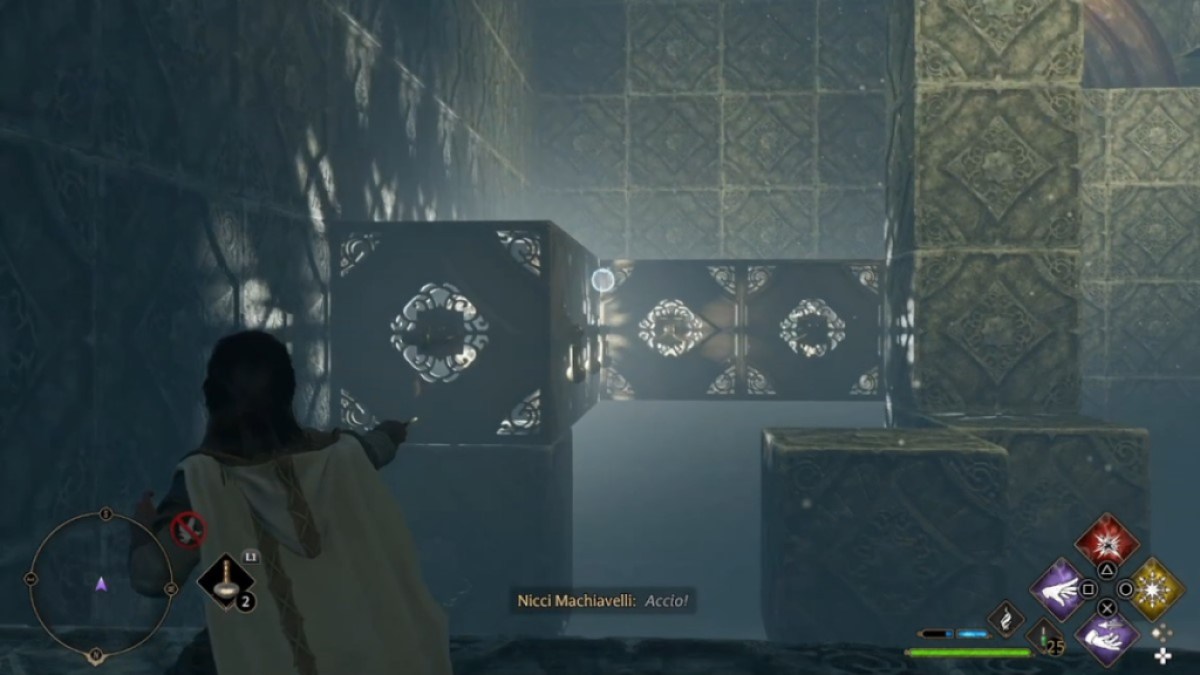
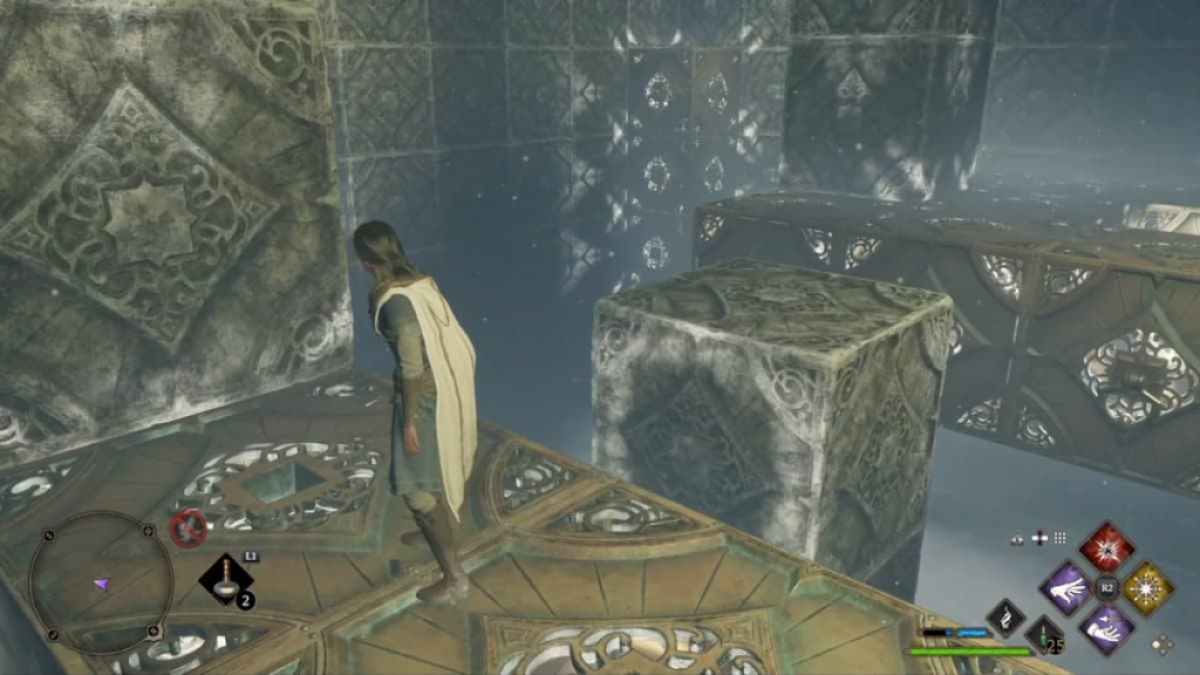
Depulso Puzzle Room Two has two distinct stages. In the first stage, your first objective is to reach the chest nestled in an alcove slightly above you on the left. To do so, pull the large L shaped block on your right towards you, then over to the left. Look around the L shaped block to pull the T shaped block behind it forward, combining them into a large platform. It should look like the picture below.
Jump and climb onto the top of the platform. You’ll see the treasure in the alcove just in front of you. The only thing to do here is jump, from the corner of the platform across to the alcove. It is possible to miss, but you’ll be able to climb back up if you do. It took us a few tries to complete the jump. As Molly Weasly says, “Best do it at a bit of a run, if you’re nervous.”
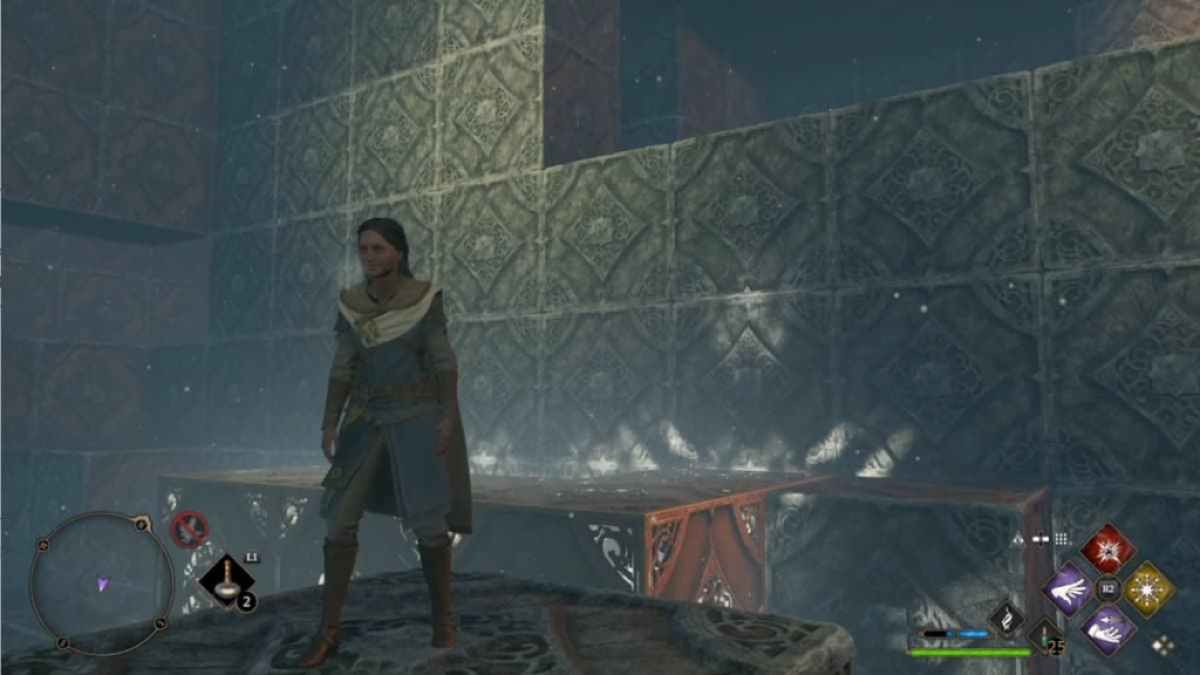
Once you’ve reached the alcove, you’ll see the room shift around. The exit door will reveal itself and you’ll see a stairway down a level. Open your treasure chest, then get ready to do a lot more block shifting to exit the room.
How to exit the first room in Hogwarts Legacy’s Depulso Puzzle Room 2
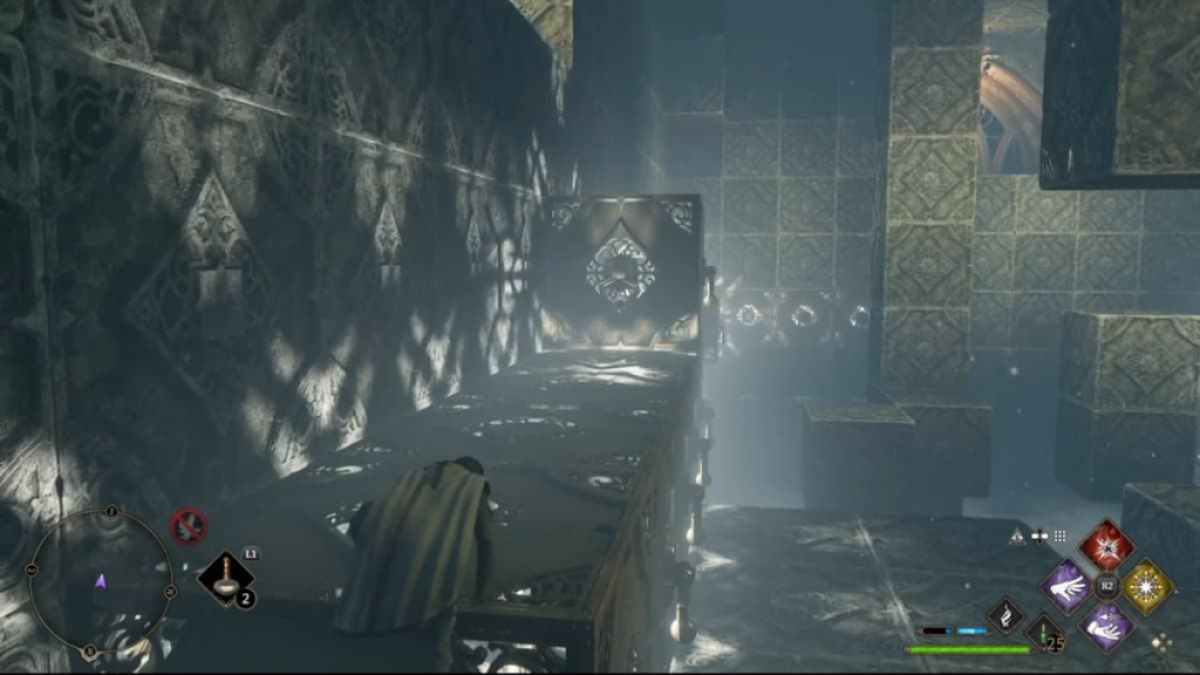
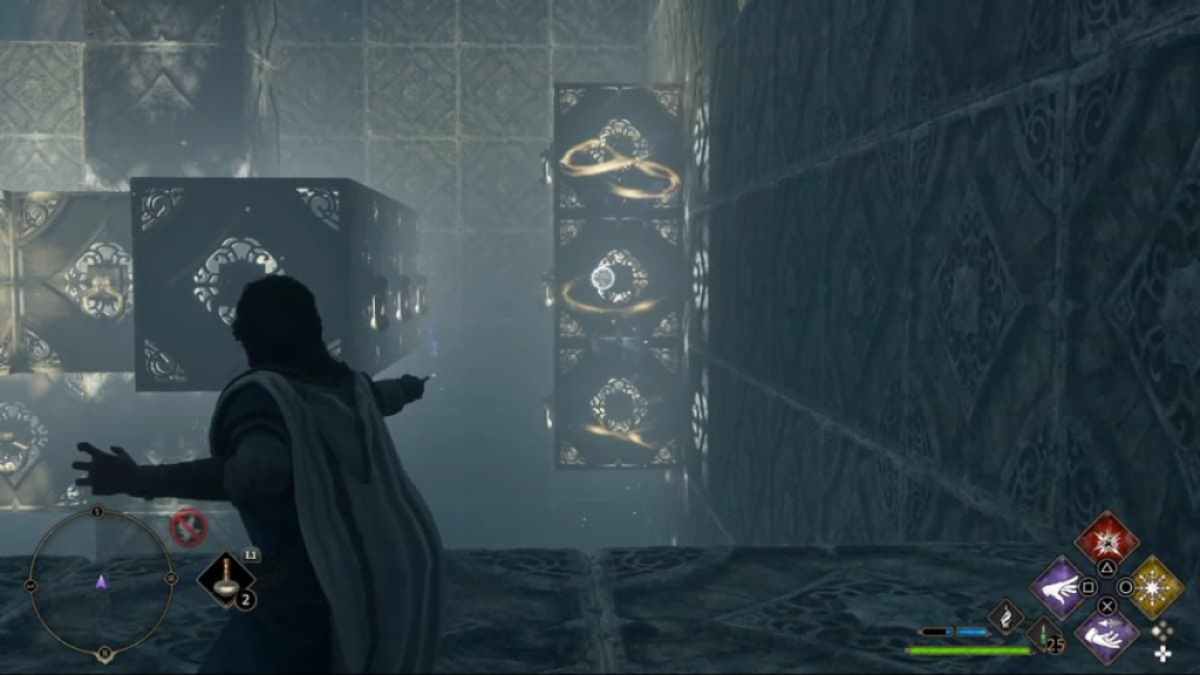
To start look down towards where the stair case leads. From the alcove platform, use Accio to pull the single block pictured below across the room. It will combine with the T shaped block.
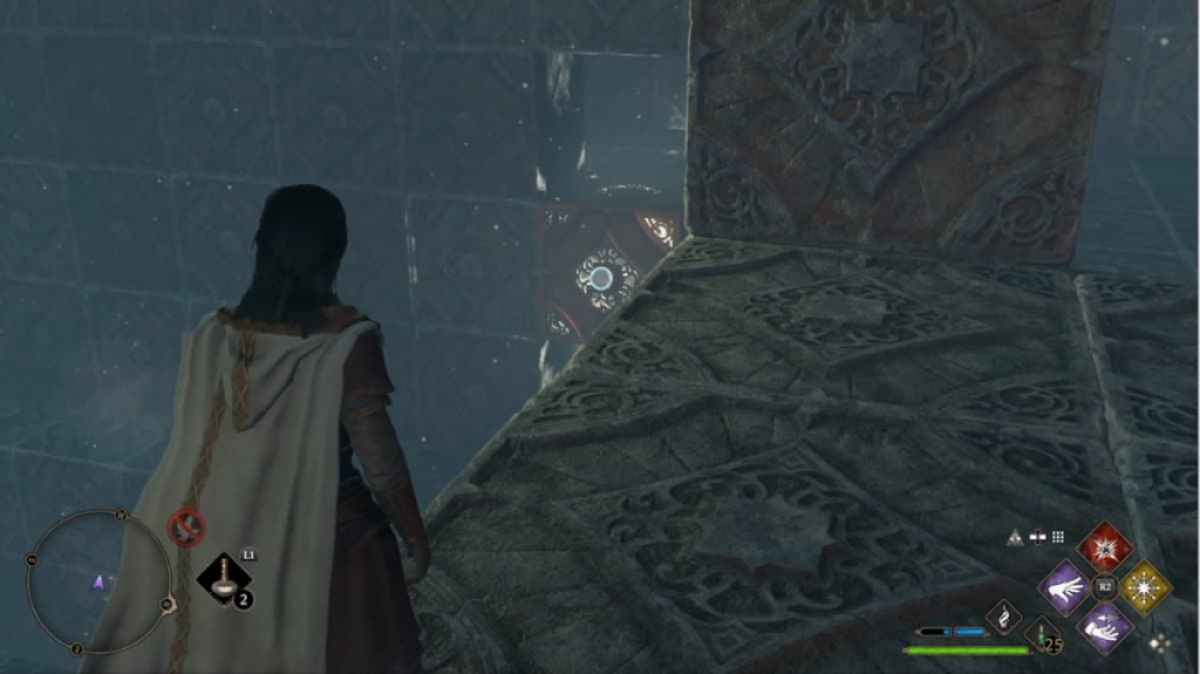
Next look at the golden brick below and directly across from the platform. Pull that brick toward you, then push or pull it to the right, then down into the corner, nearby where the single block you pulled came from. It should look like the image below.
At this point you could stay on the platform and aim carefully to pull and bring the two blocks pictured above together, or you could walk down the staircase and push the blocks into each other from the opposite side. Either way, once they are connected, you’ll need to return to the platform and pull the connected block toward you, just underneath the platform.
Related: Best ways to get Moonstone fast in Hogwarts Legacy
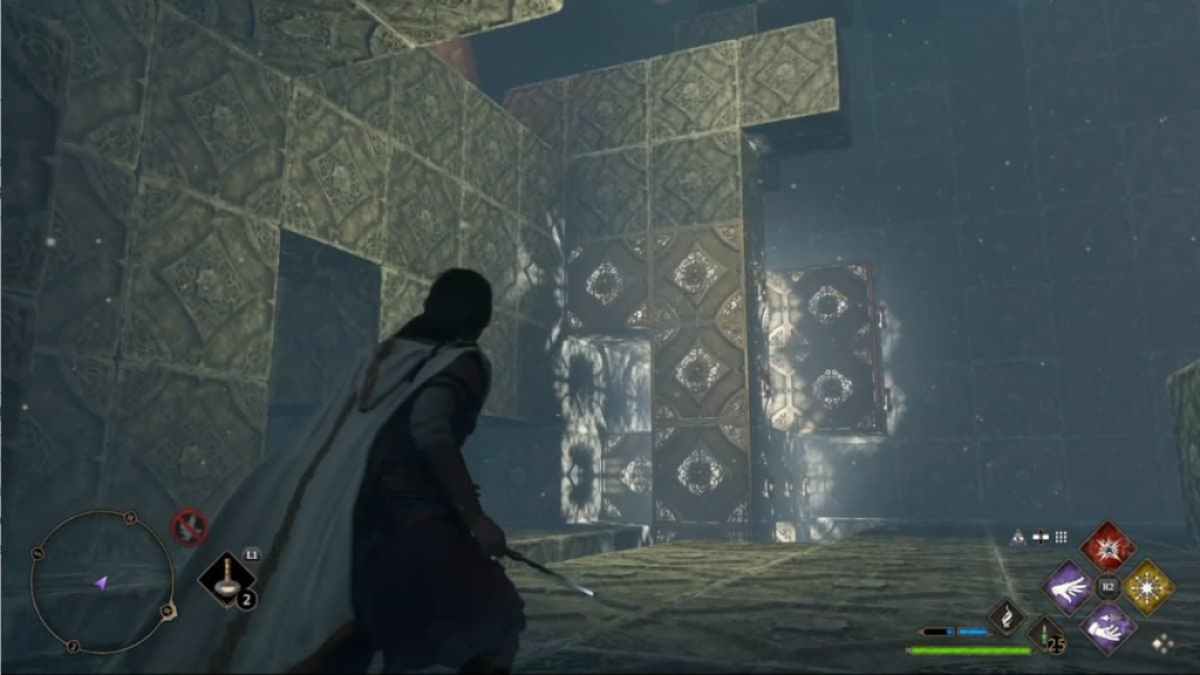
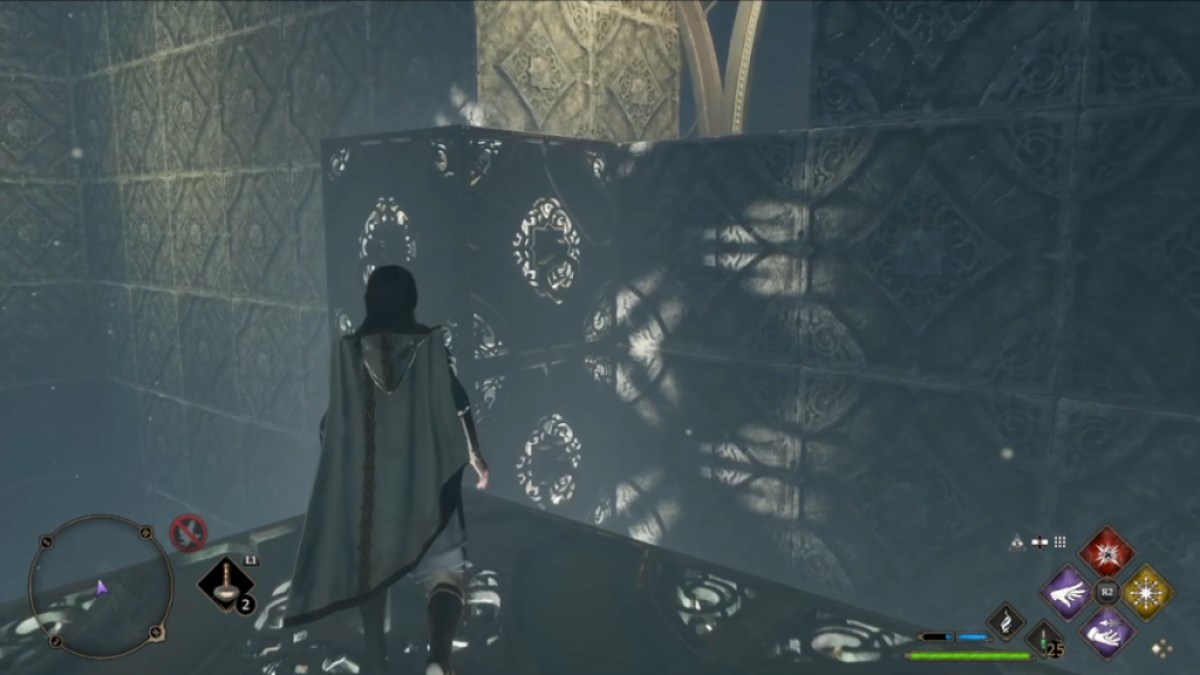
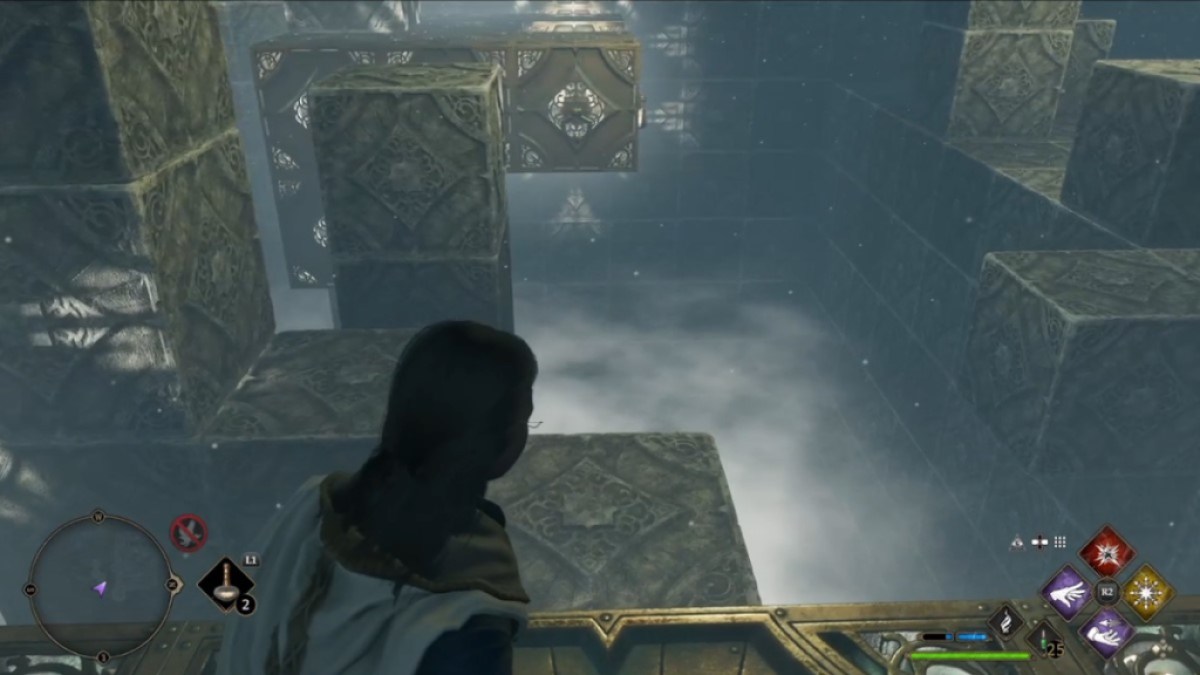
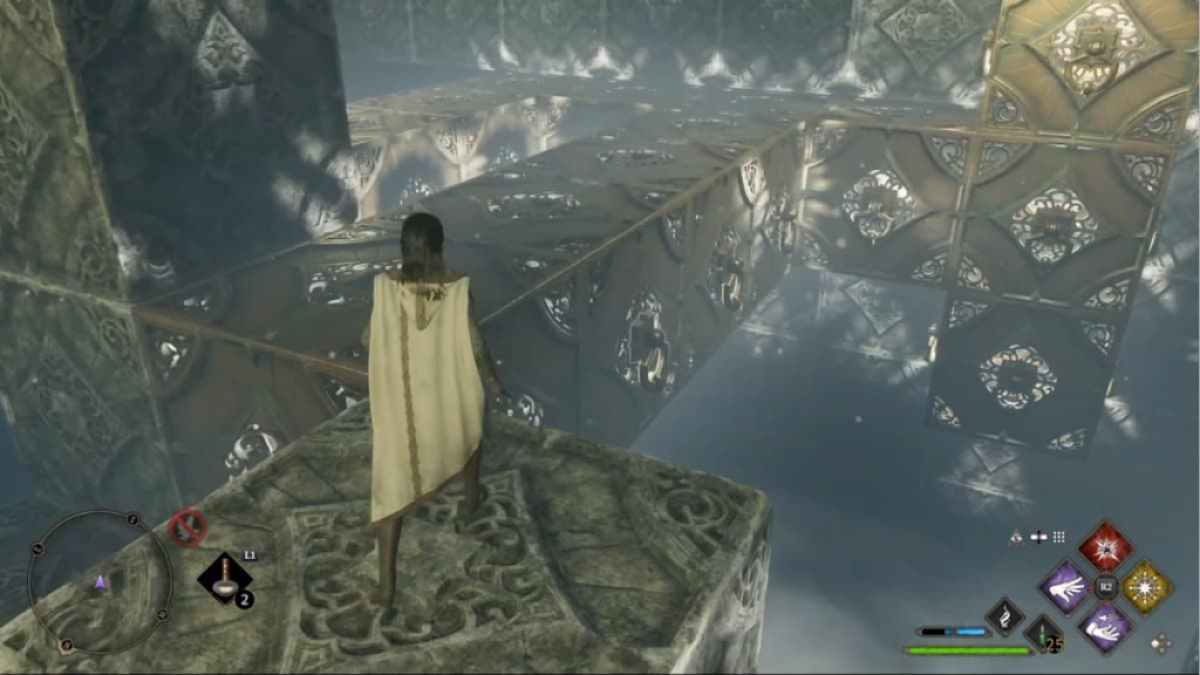
Jump down into the room, then pull the L shaped block underneath the platform to the opposite side of the room, nearby the exit door. Pull that block again into the tall L shaped block in the corner nearby the exit. Then look back to the T shaped block in the corner nearby the platform. Pull that block all the way around the four corners of the room, until you have one large block. Push the monstrously sized block back toward the corner between the entrance and the exit to the room. It should look like the picture below.
Climb back up towards the entrance, then go to the staircase nearby the monster block. You’ll need to climb up on the stone block between the staircase and the monster block, then jump onto the top of the monster block as shown below.
Once you’ve made it on top of the block, stand towards the edge of the block, then cast Depulso on the edge pictured below to move the block and yourself towards the opposite wall.

From here, climb up the stone block in front of you. You’ll then be making another leap of faith to the door in front of you. If you miss, you’ll just need to pull the monster block back toward the entrance and try again.
Congrats! You made it through the first room. Now, on to the second.
How to reach the second chest in Hogwarts Legacy’s Depulso Puzzle Room 2
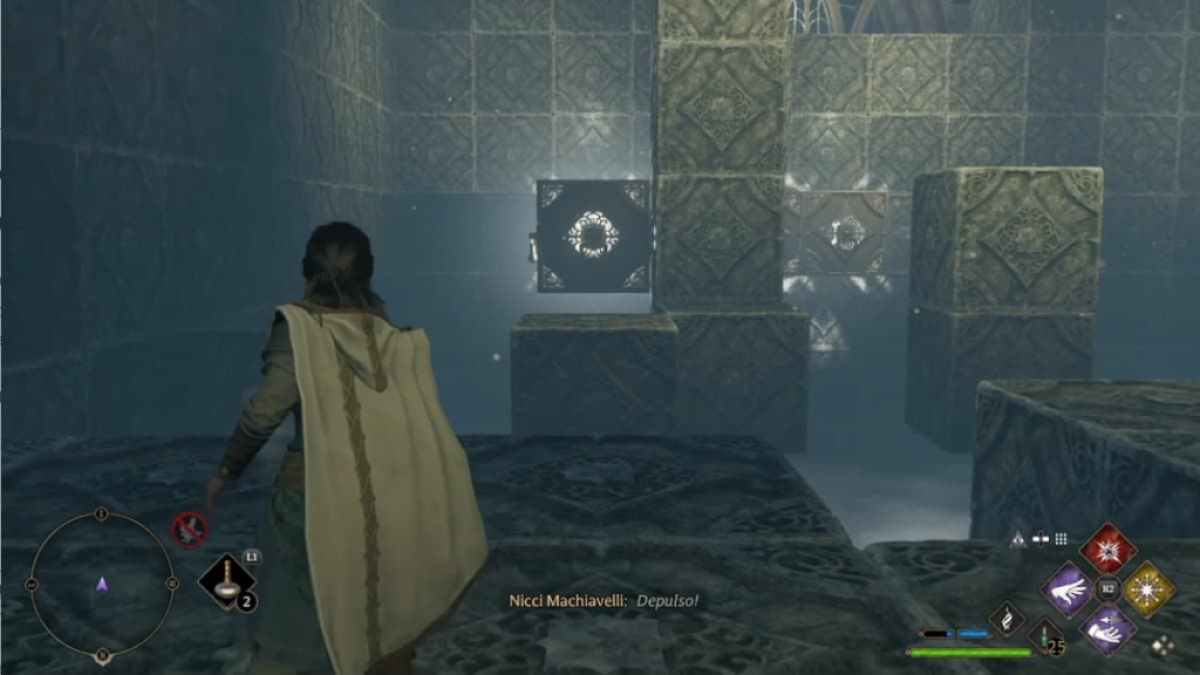
The second and final stage of Depulso Puzzle Room Two has two chests to claim, one on your right and one on your left. The exit is directly in front of you. I aimed for the left chest, first. Start by casting Depulso on the golden pillar block in front of you.

You’ll then want to move the long, horizontal golden block to the right side of the room, toward the entrance, then back over to the left side of the room again. It should be lined up so you can use Accio to pull the horizontal block into the pillar block you pushed forward. The end result will look like so.
Pull the combined block one row to the right, then pull it forward toward the entrance. You will then be able to push the block along the left hand wall. Pull the combined brick back toward the entrance one last time. You should then be able to use it as a staircase to climb up to the chest on the left hand side of the room.
Related: How to Use Different Potions Simultaneously in Hogwarts Legacy
How to reach the third chest in Hogwarts Legacy’s Depulso Puzzle Room 2
Go back to the entrance and reset the puzzle by using a basic strike on the glowing cube in the golden stand. Push the pillar cube forward again, but this time, don’t touch the horizontal cube. Jump on top of it, then pull the H shaped cube wrapped around a pillar toward you. Jump onto that H shaped cube, then pull the pillar cube toward the right side of the room.
While it may be tempting to try and make the jump from here, I tried several times and failed. Instead, what you can do is push the H block back to the pillar toward the back of the room. Then, you’ll want to move and look toward an L shaped block nestled in the back left corner of the room. Use Accio to pull it forward.
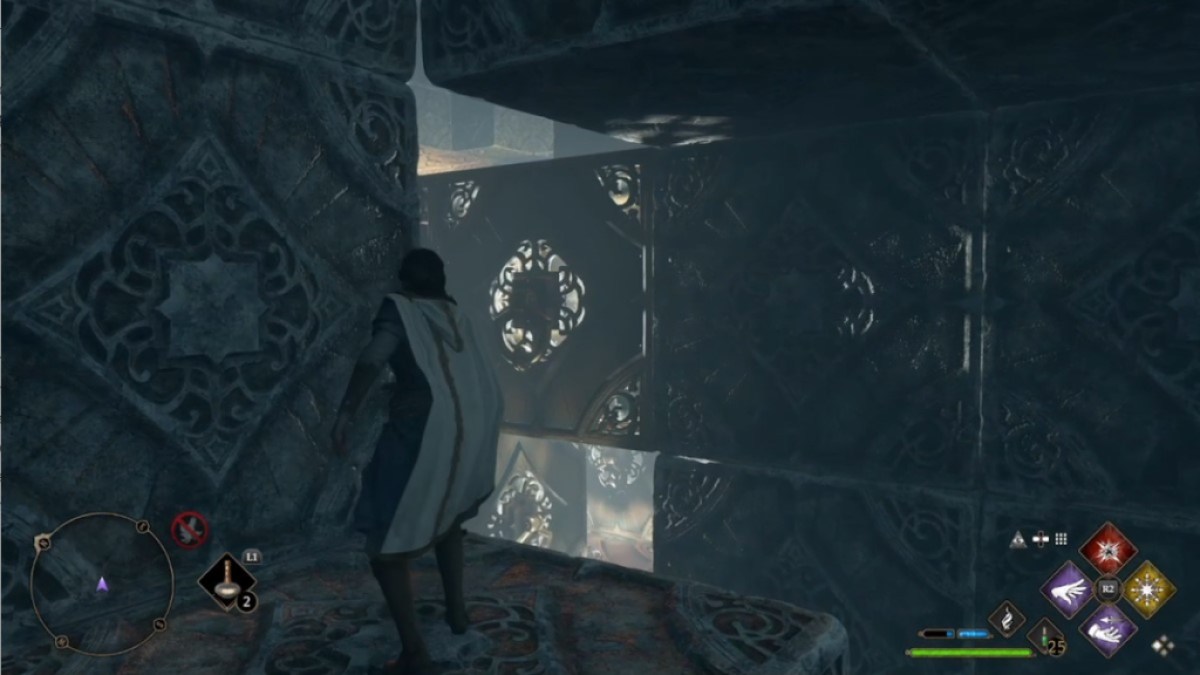
Next you’ll want to walk around and push the horizontal block toward the left wall, then push it forward to connect to the L shaped block, this will create a ledge that you can jump on to. Go to about halfway between the entrance and exit of the room, From here, you’ll just be jumping across the blocks shown below to the treasure chest on the right hand side.
Related: All 10 Demiguise Statue Locations in Hogwarts in Hogwarts Legacy
How to exit the second room in Hogwarts Legacy’s Depulso Puzzle Room 2
You’ll need to completely reset the cubes and return to the entrance to make it to the exit, so I recommend just jumping into the abyss to reset. From there, start like you did to reach the right hand chest, pushing the pillar block forward, the H shaped block toward the entrance, and then pulling the pillar block past it to the right hand wall. This time push the pillar cube one more time to the corner between the exit and and the right side chest.
Next, you’ll want to find the L shaped block reset to the back left corner. Pull it forward, to the right, then back again to get it into position.
The next block you’ll be working with is the horizontal block. Push it toward the right, pull it toward the entrance, then back to the left. Carefully use Accio to pull the horizontal block toward the exit. It will be blocked by a stone pillar. You should then climb on the horizontal block to reach this stone cube in the center.
From the stone cube, pull the H shaped block back toward the entrance, and pull the pillar cube toward the exit as well. It should be blocked in front of the exit by the L shaped block. Hop over to the H shaped block and use Accio to pull the horizontal block right one space then forward toward to the door. After all that you’ll have a clear path to jump and climb up to the exit.
Your reward for all of this trouble is a Collection Chest containing a Conjuration spell. For us, it was a Telescope, which would make Amit happy to see us, at least. I’ve got to say though, it seems like I deserved something more than cosmetic furniture for my time.
Looking for more help in Hogwarts Legacy? Check out All Moth to the Frame picture locations in Hogwarts Legacy here at Pro Game Guides.
[ad_2]