[ad_1]
Screenshot by Pro Game Guides
I’ve found the ruins and tombs that have been added to Wartales to be a real breath of fresh (or should I say dank and ominous) air. They alter the game’s format nicely as a kind of mini-game break while staying true to the core values of this tactical medieval RPG. The first one you’ll likely find, Tiltren Tomb, is tricky and while Vertruse Tomb follows a similar tack, it does change things up a bit. If you’re having trouble, read on for our full Wartales Vertruse Tomb puzzle solution and walkthrough.
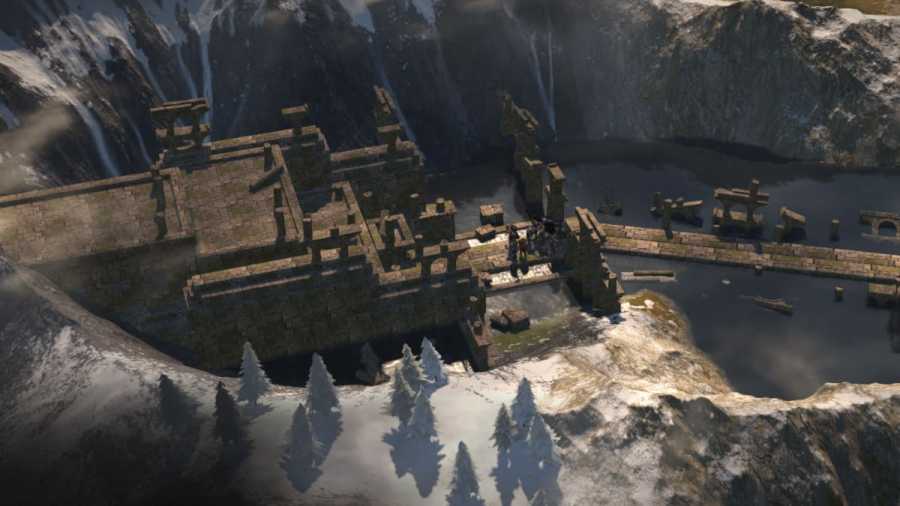
Vertruse Tomb ruins walkthrough – Wartales
I’d advise you to have the following before entering Vertruse Tomb if you want to completely clear it: six torches (more if you want to equip and use more than two or three in combat), a Scholar, a Miner, and an Angler (professions don’t need to be high ranked). There are three battles, all mirroring the ones from Tiltren Tomb. Also, remember to loot all urns, bodies, and chests you find. There is a full set of three Codex here, plus other random goodies.
Related: Wartales – Full Vertruse Province Region Map & Locations Guide
When you arrive at Vertruse Tomb, you’ll find a Merchant just inside who can’t work out how to open the main door to the ruins. Once you’ve spoken with him, click on and examine the door, then put a contribution of 80 Krowns into the large offering bowl in front of the door (don’t worry, you’ll get it back later). The Merchant will go running into the tomb as the door opens, hunting for treasure. I’m sure he’ll be fine…
Room 1: Mud

New exits NE and SW. As you enter, you’ll notice water on the ground and mud on the back wall. You can’t do anything about it yet, but on the way back later (when it is cleared) you’ll find the Yellow Symbol on the wall where the mud currently is. Leave by the SW exit. Note the symbols change each playthrough, so the ones in my screenshots are unlikely to match what you’ll need.
Room 2: Slide Puzzle
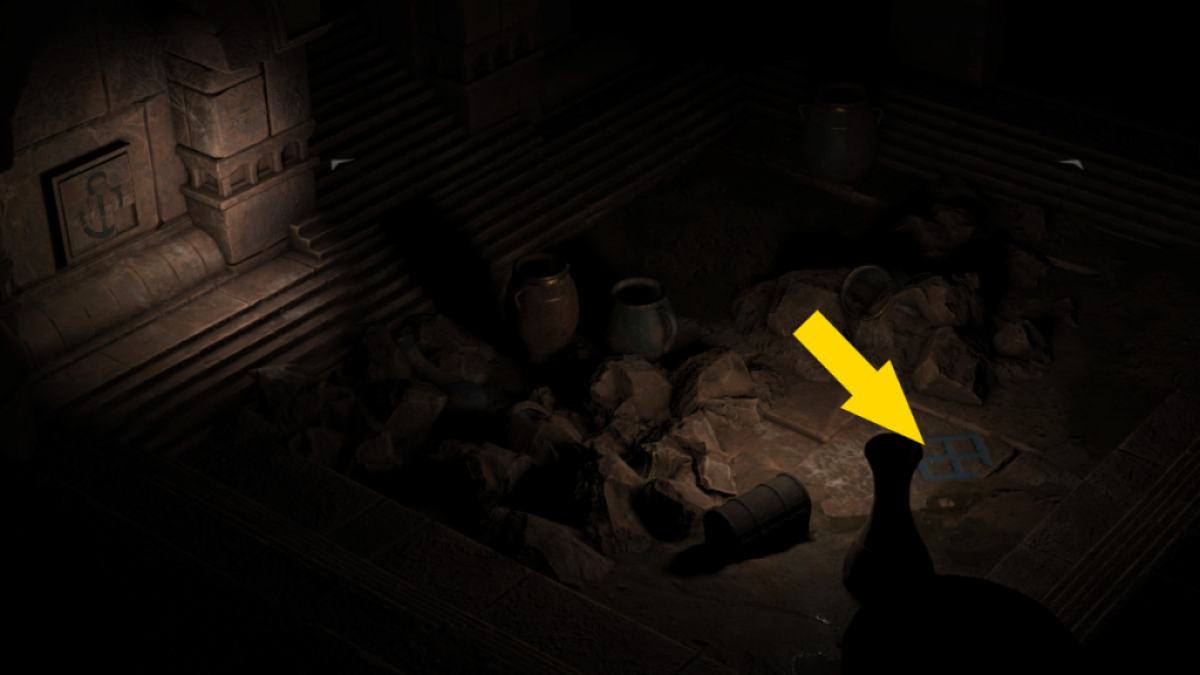
New exits NW and SE. Again, there is water on the ground, but left of the NW exit there is a slide puzzle on the wall. Complete it to gain the Sea Rune. If you lose patience, come out of the puzzle to find an NPC appearing who can complete it for you (at a price). Once again, when you return here soon and the water has cleared, you’ll find the Blue Symbol on the floor of this room. The SE exit is currently flooded, so leave NW.
Related: Wartales Profession Bonuses, Explained
Room 3: The Statue
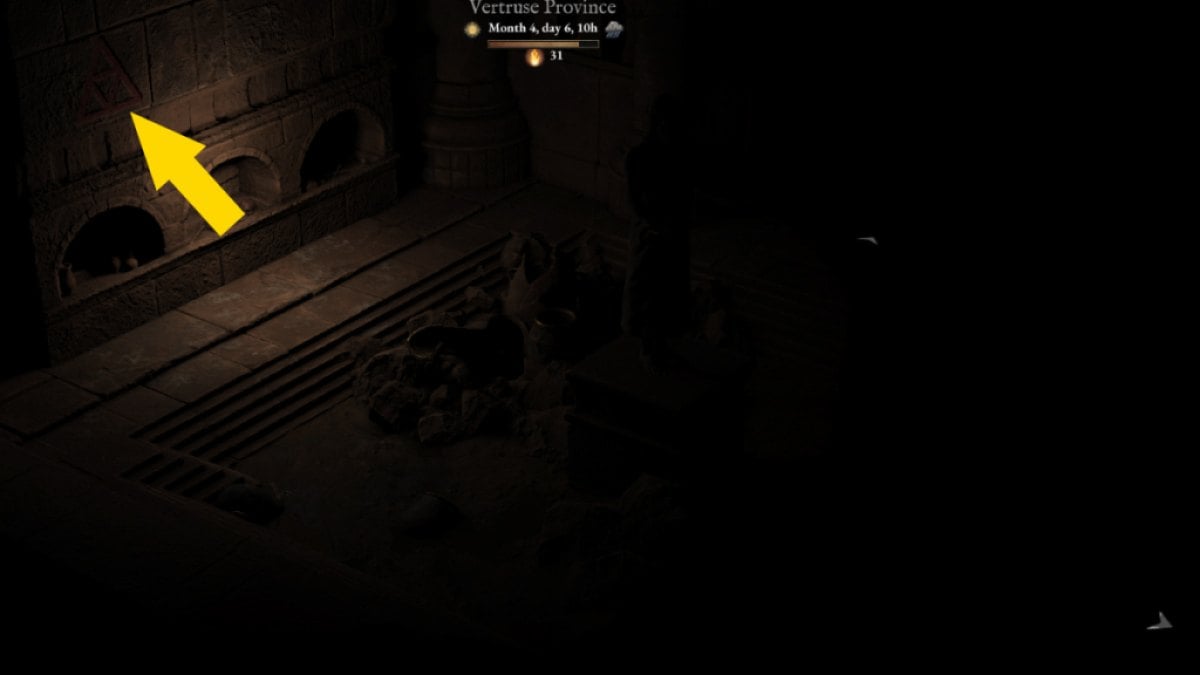
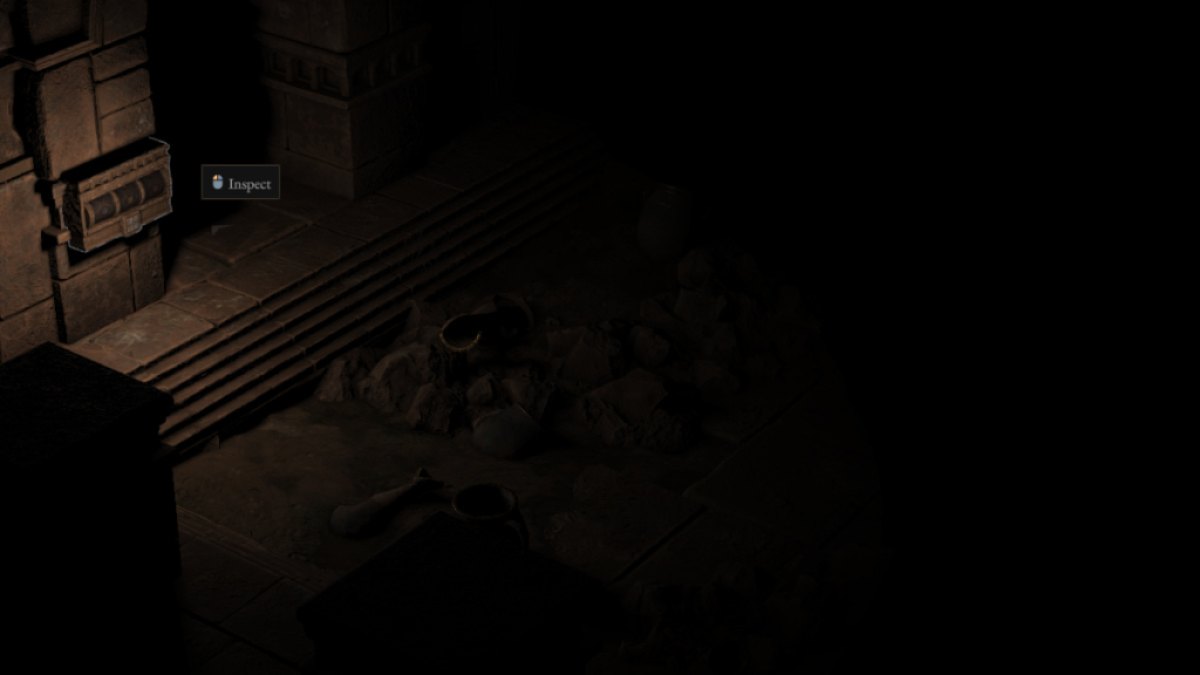
New exit NE. Examine the statue and place a Sapphire or Ruby in its hand (it doesn’t matter which). The NE exit will open, and you can immediately re-click the statue to get your gem (plus a free one) back. If you didn’t bring one with you, you’ll find a sapphire in the loot of one of the previous rooms that you can use. Also, note that the Red Symbol is on the back wall. Leave NE. There will be a battle between rooms three and four.
Room 4: The switches
New exit NE. Inspect the mural on the back wall and hover your mouse over the raised rune to get the People Rune. Use the large switch closer to the NE door twice, which should result in your hearing nothing after the second pull. You’ll know it has worked if both this and the previous room now have water on the floor. Otherwise, use the switches again until all the water is clear. You can break through the blockage of the NE exit here, but you shouldn’t need to use it. Instead, work your way back through to Room 2 (looting and noting the symbols in both Room 2 and 3). Exit Room 2 SE into the room that was previously flooded.
Room 5: The Merchant’s Fate
You can choose to mine at the back wall and also get your Krowns back from the large dish here (where they dropped through from above). When you fish, you’ll dredge up the body of the Merchant who was caught out when you emptied out the water. Search him for the loot he found, and don’t forget the chest here too. Return through Room 2 to Room 1, loot, and note the yellow symbol, before exiting Room 1 NE. There will be a battle between rooms one and six.
Related: Wartales Legendary Weapons List
Room 6: The Second Mural
New exit NW. Not much to see here beyond any ground loot and the Prosperity Rune on the mural on the far wall. Leave NW.
Room 7: A Locked Door
New exits SW and NW. If you cleared it from the other side (in Room 4) this door should work, but there is no need to use it. You should now have your red, yellow, and blue symbols so use the box to the left of the NW door to open it. Exit the room through the NW door. There will be a battle between rooms seven and eight.
Room 8: The Tomb
This is the final room of Vertruse Tomb. Get your miner to smash through the tomb itself, and then loot it. You’ll find an item your Scholar can study at camp that will eventually (after about a week) reward you with the legendary weapon Nepti’s Axe. This is a one-handed axe with a 3m attack arc that deals strong damage as well as Corrosion and Poison, so is well worth having.
As a final note, make sure you’ve found all three sections of the Merchant’s Codex and all three runes (all mentioned above) before you leave. The easiest one to miss is in a chest in Room 2 (you can’t see it until you’ve drained all the water and you’ll also need a Crude Key to open it, which is elsewhere in the tomb). You can always return to these tombs, but they tend to be out of the way and you still need torches (one light per room, six per torch) to explore them.
For more on Wartales here at Pro Game Guides, check out Wartales Region Levels & Order and How to remove armor layers in Wartales.
[ad_2]